Introduction
This guide is dedicated to the web portal which serves for the companies to manage and monitor the process of alcohol testing. Web represents the central place which consists of various views of the current status or statistical information and delivers efficient configuration possibilities to setup future processes.
User roles overview
Admin
Can create/edit:
-
Main Group inside his own organization
-
Sub group inside his own organization
-
Admin in his own organization
-
Group Admin inside his own organization
-
Subject inside his own organization
Cannot use the mobile app to upload alcohol samples.
Group admin
Can create/edit:
-
Subject inside his own organization and his main group
Cannot use the mobile app to upload alcohol samples.
Subject
Subject can only use the mobile application and upload alcohol samples.
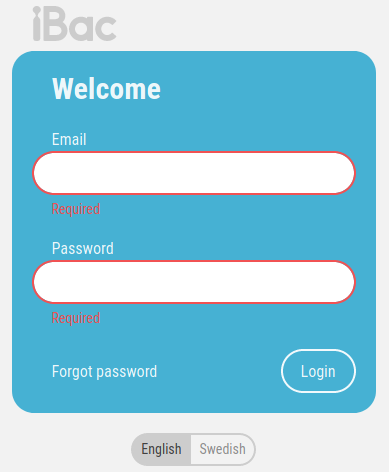
Login
To be able to use the iBac system, each user needs to be logged in. The credentials for each user are:
|
|
Two factor authentication
The iBac system provides possibility to set a two-factor authentication for the user account to increase the security.
Accounts with Two-factor authentication enabled
Upon successfull authentication of the username and password, the server automatically sends authentication code to the user’s mobile phone.
|

|
Enable two-factor authentication
Upon successfull authentication of the username and password, user is prompted to enable two-factor authentication for his account.
User can also skip this by click on "Skip" button.
To enable two-two factor authentication, user need to follow wollowing steps:
-
Click on "Enable now".
-
The authentication code is sent to the user’s mobile phone (set in his profile by admin).
-
Insert the received authentication code to the input field.
-
Confirm.
-
Wait for a processing.

Change or reset your password
If you need help resetting your password, we can help by sending you a link. Change or reset your password process is valid for all types of user roles.
-
From IBAC web UI login page click on "Forgot password".
-
From IBAC web UI forgot password page enter your e-mail and click "Request new password".
-
Check out your email inbox to find the email..
-
From the email click on "here" link to go to reset password page.
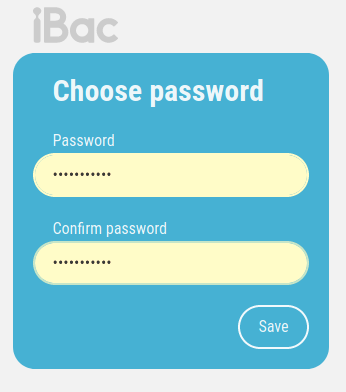
-
Enter "Password" and "Confirmation password" in the corresponding fields. Click on "Save".


Ibacs
The iBac is the breathalyzer and physical device that connects to a smartphone or tablet over Bluetooth. Different versions of the iBac circulate the market why the mobile applications need to be compatible with all of them. To be able to use the iBac, it needs to be registered in the system for an organization. It needs to be registered with its MAC address and uppercase characters by a super admin, meaning only Alcosystems personnel.
Filter iBacs
It is possible to filter iBacs by following: actived, deactivated
-
Login as "Admin" to https://web.ibacpro.com
-
Click on "Ibac" on the left menu
-
Apply one of the filters.
Activate/deactivate iBac
| This functionality is available only for Admin and Superadmin accounts. |
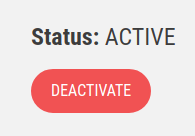
Each iBac device can be activated/deactivated. Deactivated iBac cannot be used for performing an alcohol test. Activation events are logged.
-
Login as "Admin" to https://web.ibacpro.com
-
Click on "Ibac" in the left menu.
-
Select an iBac from the list.
-
Click on the "ACTIVATE/DEACTIVATE" button.
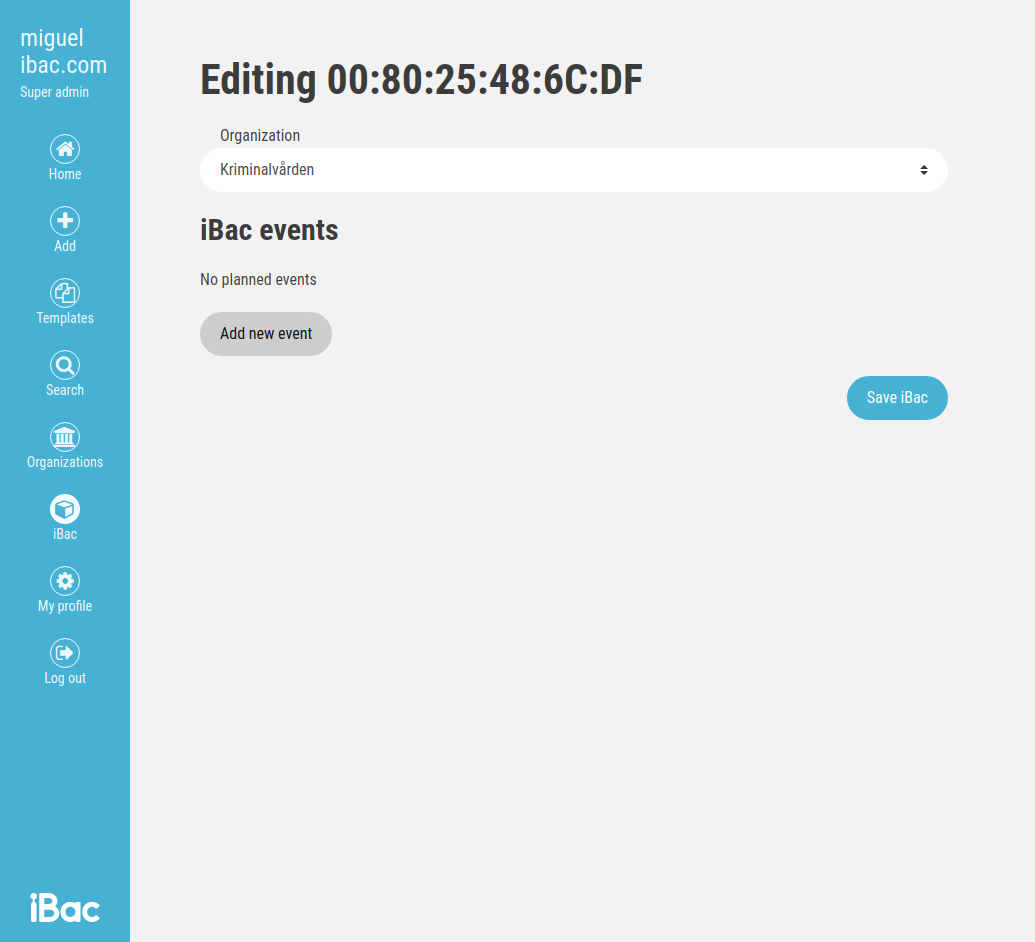
Set activation event for iBac
| This functionality is available only for Admin accounts. |
Admin can create a set of activation events for specific iBac device. These events are then automatically triggered at a specified time and will perform activation or deactivation of the device.
-
Login as "Admin" to https://web.ibacpro.com
-
Click on "Ibac" on the left menu.
-
Select an iBac device from the list.
-
On the iBac details page click on the "Edit iBac" button.
-
Click on the "Add new event" button.
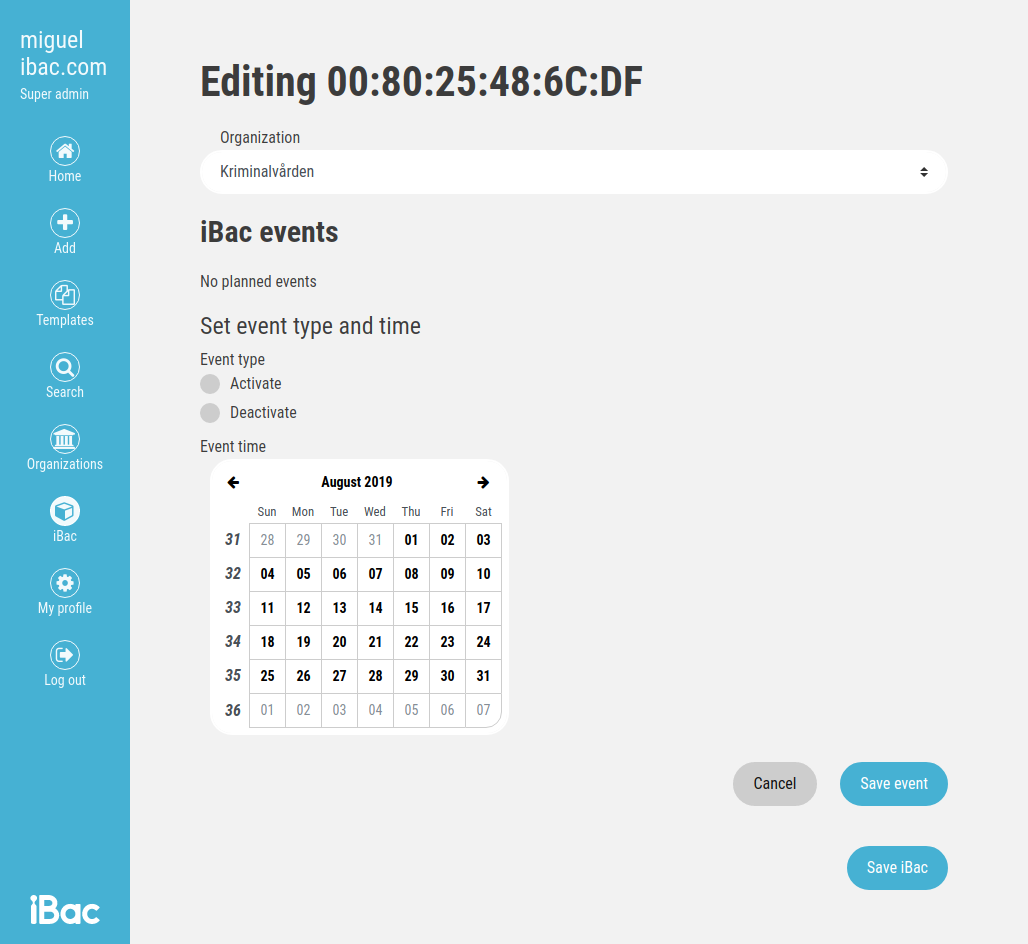
-
Select event type (activation or deactivation).
-
Set a date when the event should be triggered.
-
Click on the "Save event" button.
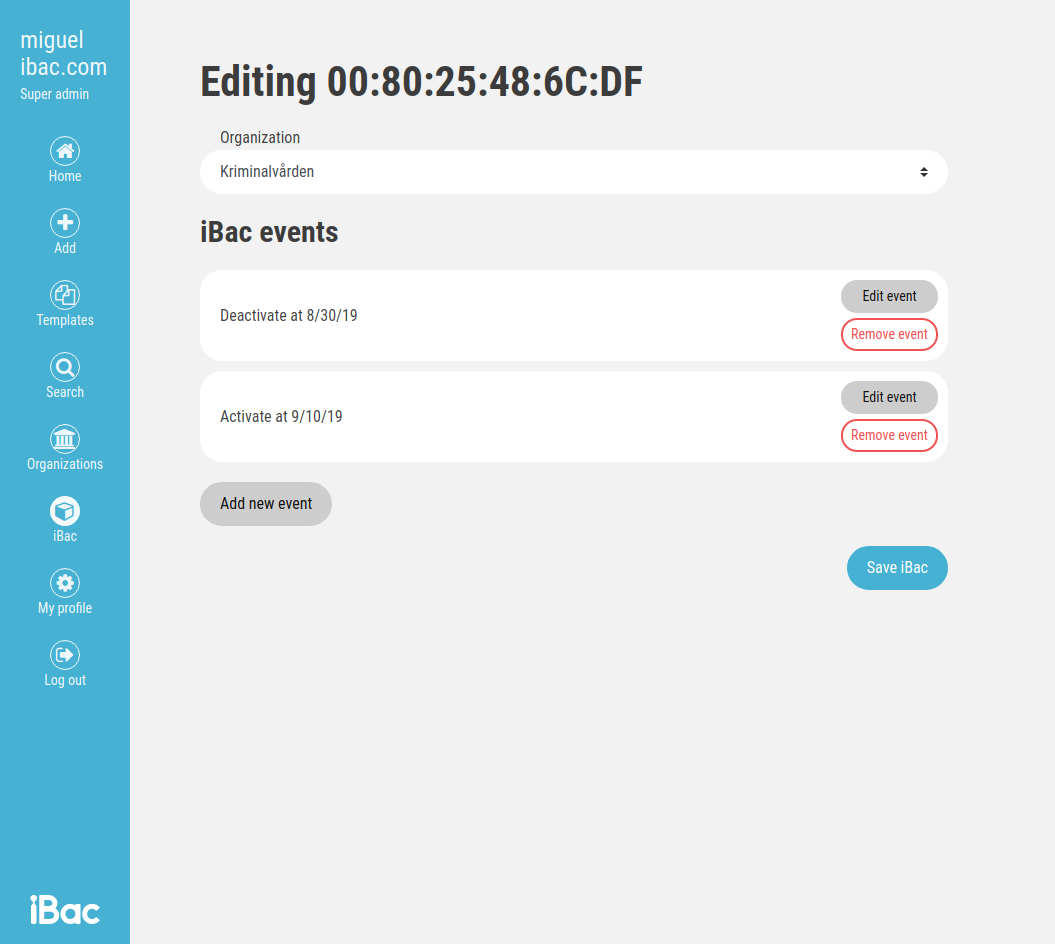
-
Click on the "Save iBac" button to save all changes.
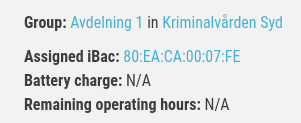
Display iBac info
| This functionality is available only for Admin accounts. |
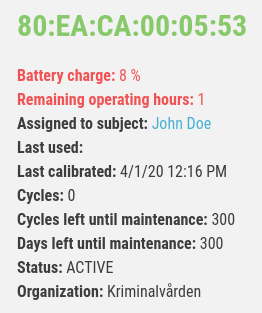
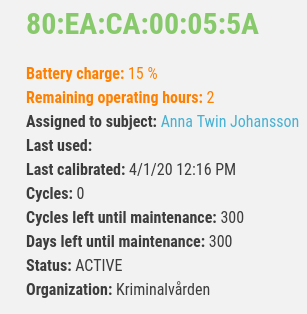
iBac info page contains information about the ibac:
-
device’s last known battery charge and estimation of remaining operating hours based on charge value. The current battery charge value is always obtained by the server together with the alcohol sample. Low battery charge values are marked by color.
-
subject and organization to which the ibac is assigned
-
date of last usage
-
date of last calibration
-
amount of usage cycles and how many are left to maintanance requirement
-
iBac status (actived/deactivated)
In order to see the ibac information:
-
Login as "Admin" to https://web.ibacpro.com
-
Click on "Ibac" on the left menu.
-
You can see the last known battery charge value with estimated remaining operating hours displayed in the iBac device details.
Display tampered devices
| This functionality is available only for Admin accounts. |
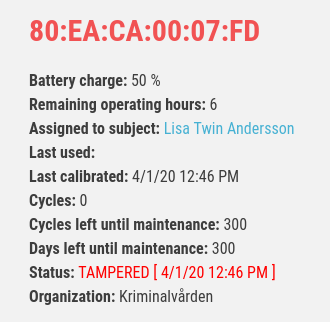
iBac devices have a tamper detection mechanism. Once someone tries to open the iBac it gets detected and then the device is not possible to use for making the alcohol test anymore. Upon tamper detection, the device sends this information to the mobile app during the pairing process. The application then stops the test with error and sends information about tampering to the backend.
-
Login as "Admin" to https://web.ibacpro.com
-
Click on "Ibac" on the left menu.
-
Select "Tampered devices" from the options on top of the page.
-
Only tampered devices are now displayed in the list.
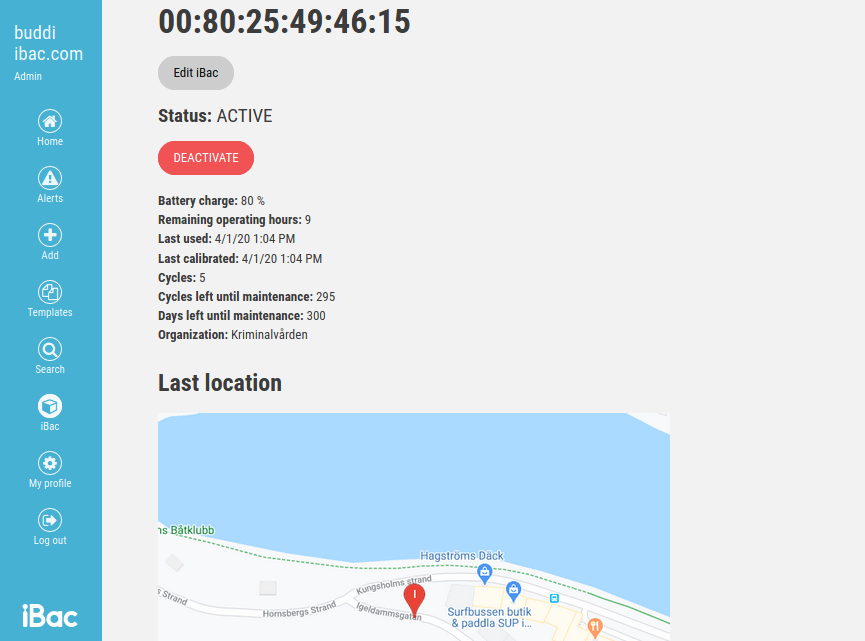
Display last known location of iBac
| This functionality is available only for Admin accounts. |
iBac info page contains information about the last known location of the device. This record is taken from the last uploaded alcohol sample created by this iBac device. This record is available only if the Subject which is using this device has set the record of GPS location as mandatory.
-
Login as "Admin" to https://web.ibacpro.com
-
Click on "Ibac" on the left menu.
-
Select an iBac device from the list.
-
If location is available you will see the location marked on the map.
Groups
They consist of main groups and sub groups. The focus of the main group is to organize a number of sub groups. A sub group holds a number of subjects and monitors. The focus of the sub group is to organize a number of subjects and link them to specific monitors. Depending on their role, monitors can just access data that is available through their sub groups.
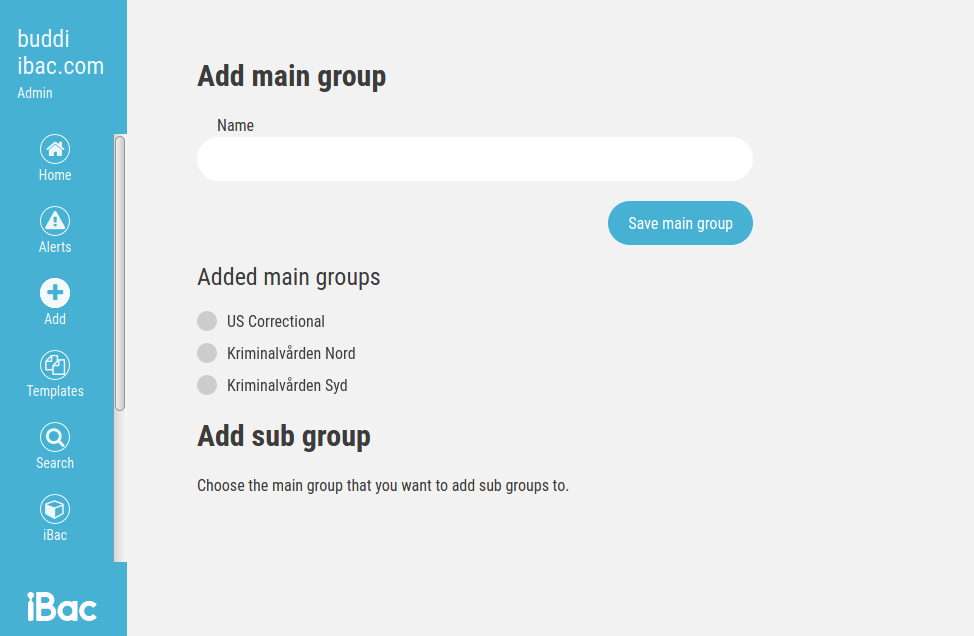
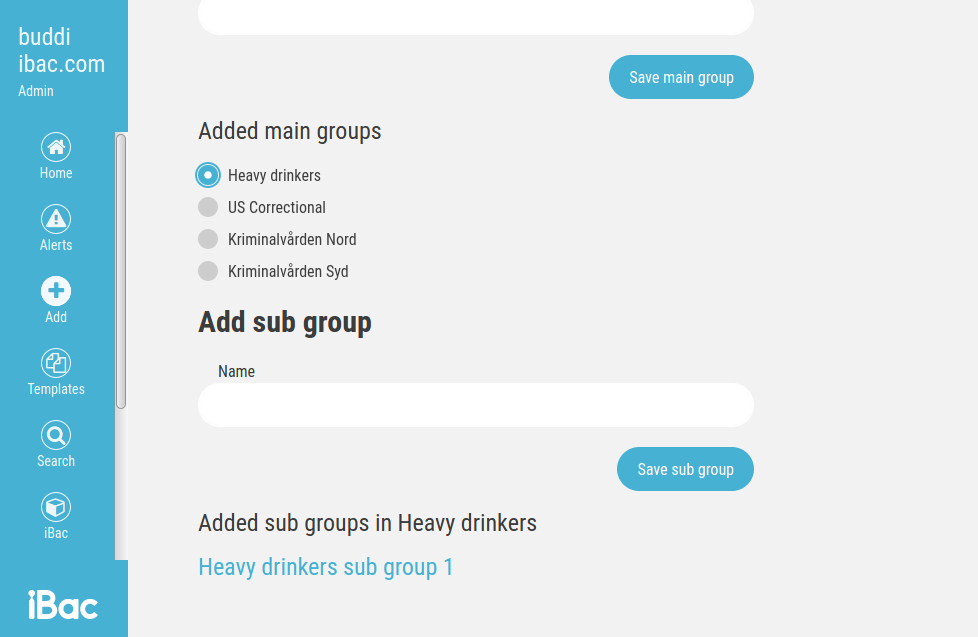
Create groups
-
Login as "Admin" to https://web.ibacpro.com
-
Click "Add" on the left menu.
-
Click on "Group".
-
Select the name of your "Main Group" and click "Save main group".
-
Select the correct "Main Group" from the list.
-
Enter the name of "Sub group" and click "Save sup group".
Agents
An agent (admin) is a person that has administrative access to the system and not undercare or supervision himself. The agent manages subjects, groups and other domains depending on his / her role. An agent that’s a member of a sub group is called a “monitor” in that group. The monitor receives updates about the progress of each subject. Depending on each subject’s notification setting stored in the rule set, Test events and even violations made with optional Alcohol Samples are broadcasted out to monitors.
Agent can have either admin or group admin role. An admin is the highest rank of “ordinary” users within an organization. They can unfiltered see all data between groups and create new admins. The group admin just has access to their groups. Therefore no information from other groups can be leaked to these admins.
All Agent accounts are being identified by the AUP ID, which needs to be unique.
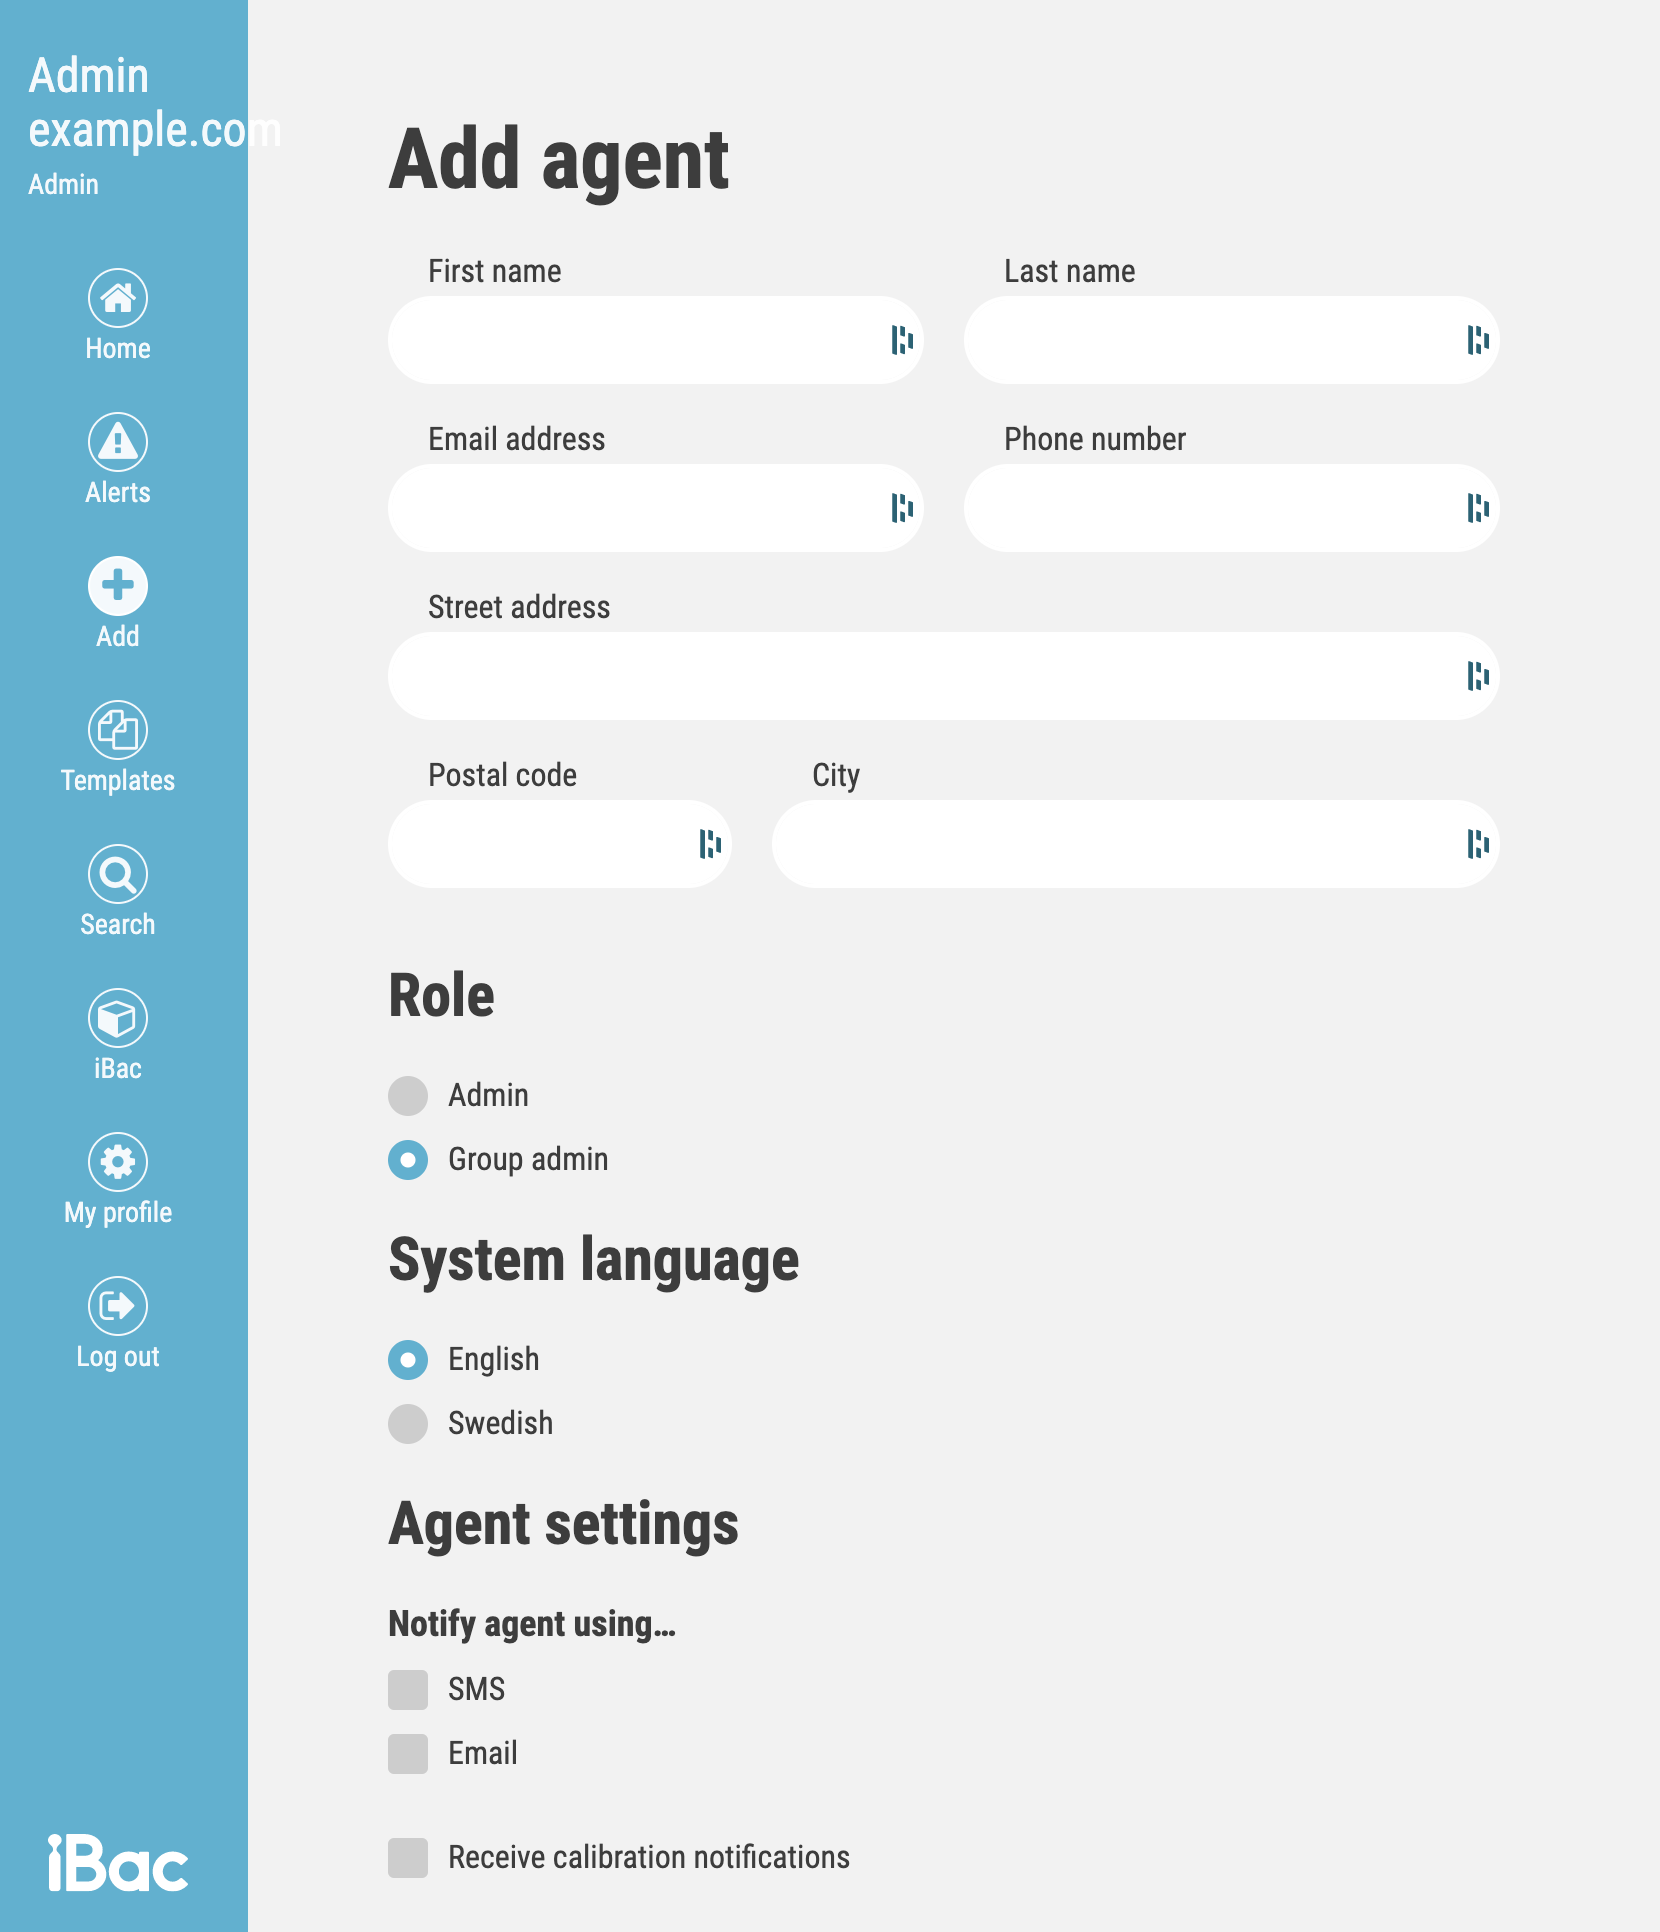
Create agent
-
Login as "Admin" to https://web.ibacpro.com
-
Click "Add" on the left menu.
-
Click on "Agent".
-
Fill in all fields with person and contact information (IMPORTANT: phone number must be entered in the correct format with country code: +37253641858).
-
Select role between admin and group admin.
-
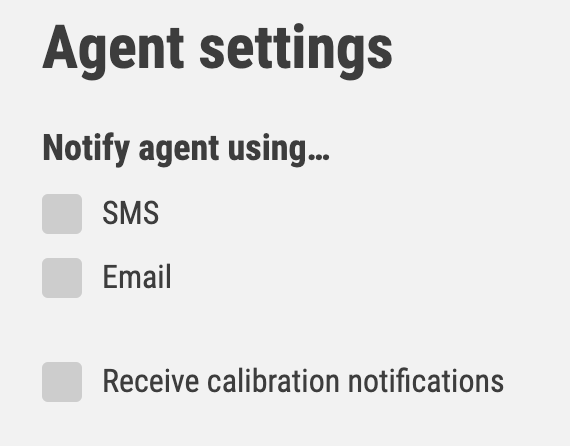
The agents can set a type of preferred notification types for a given agent.
-
The agents can set whether the given agent should receive notifications about iBac device calibration.
Newly created agent receives an invitation email upon successful creation of agent on the server. This email contains an activation link, where the agent will create his password. After this, he can use the account to log in to the Web UI.
Create "Admin"
-
Select the role "Admin".
-
Click on save settings.
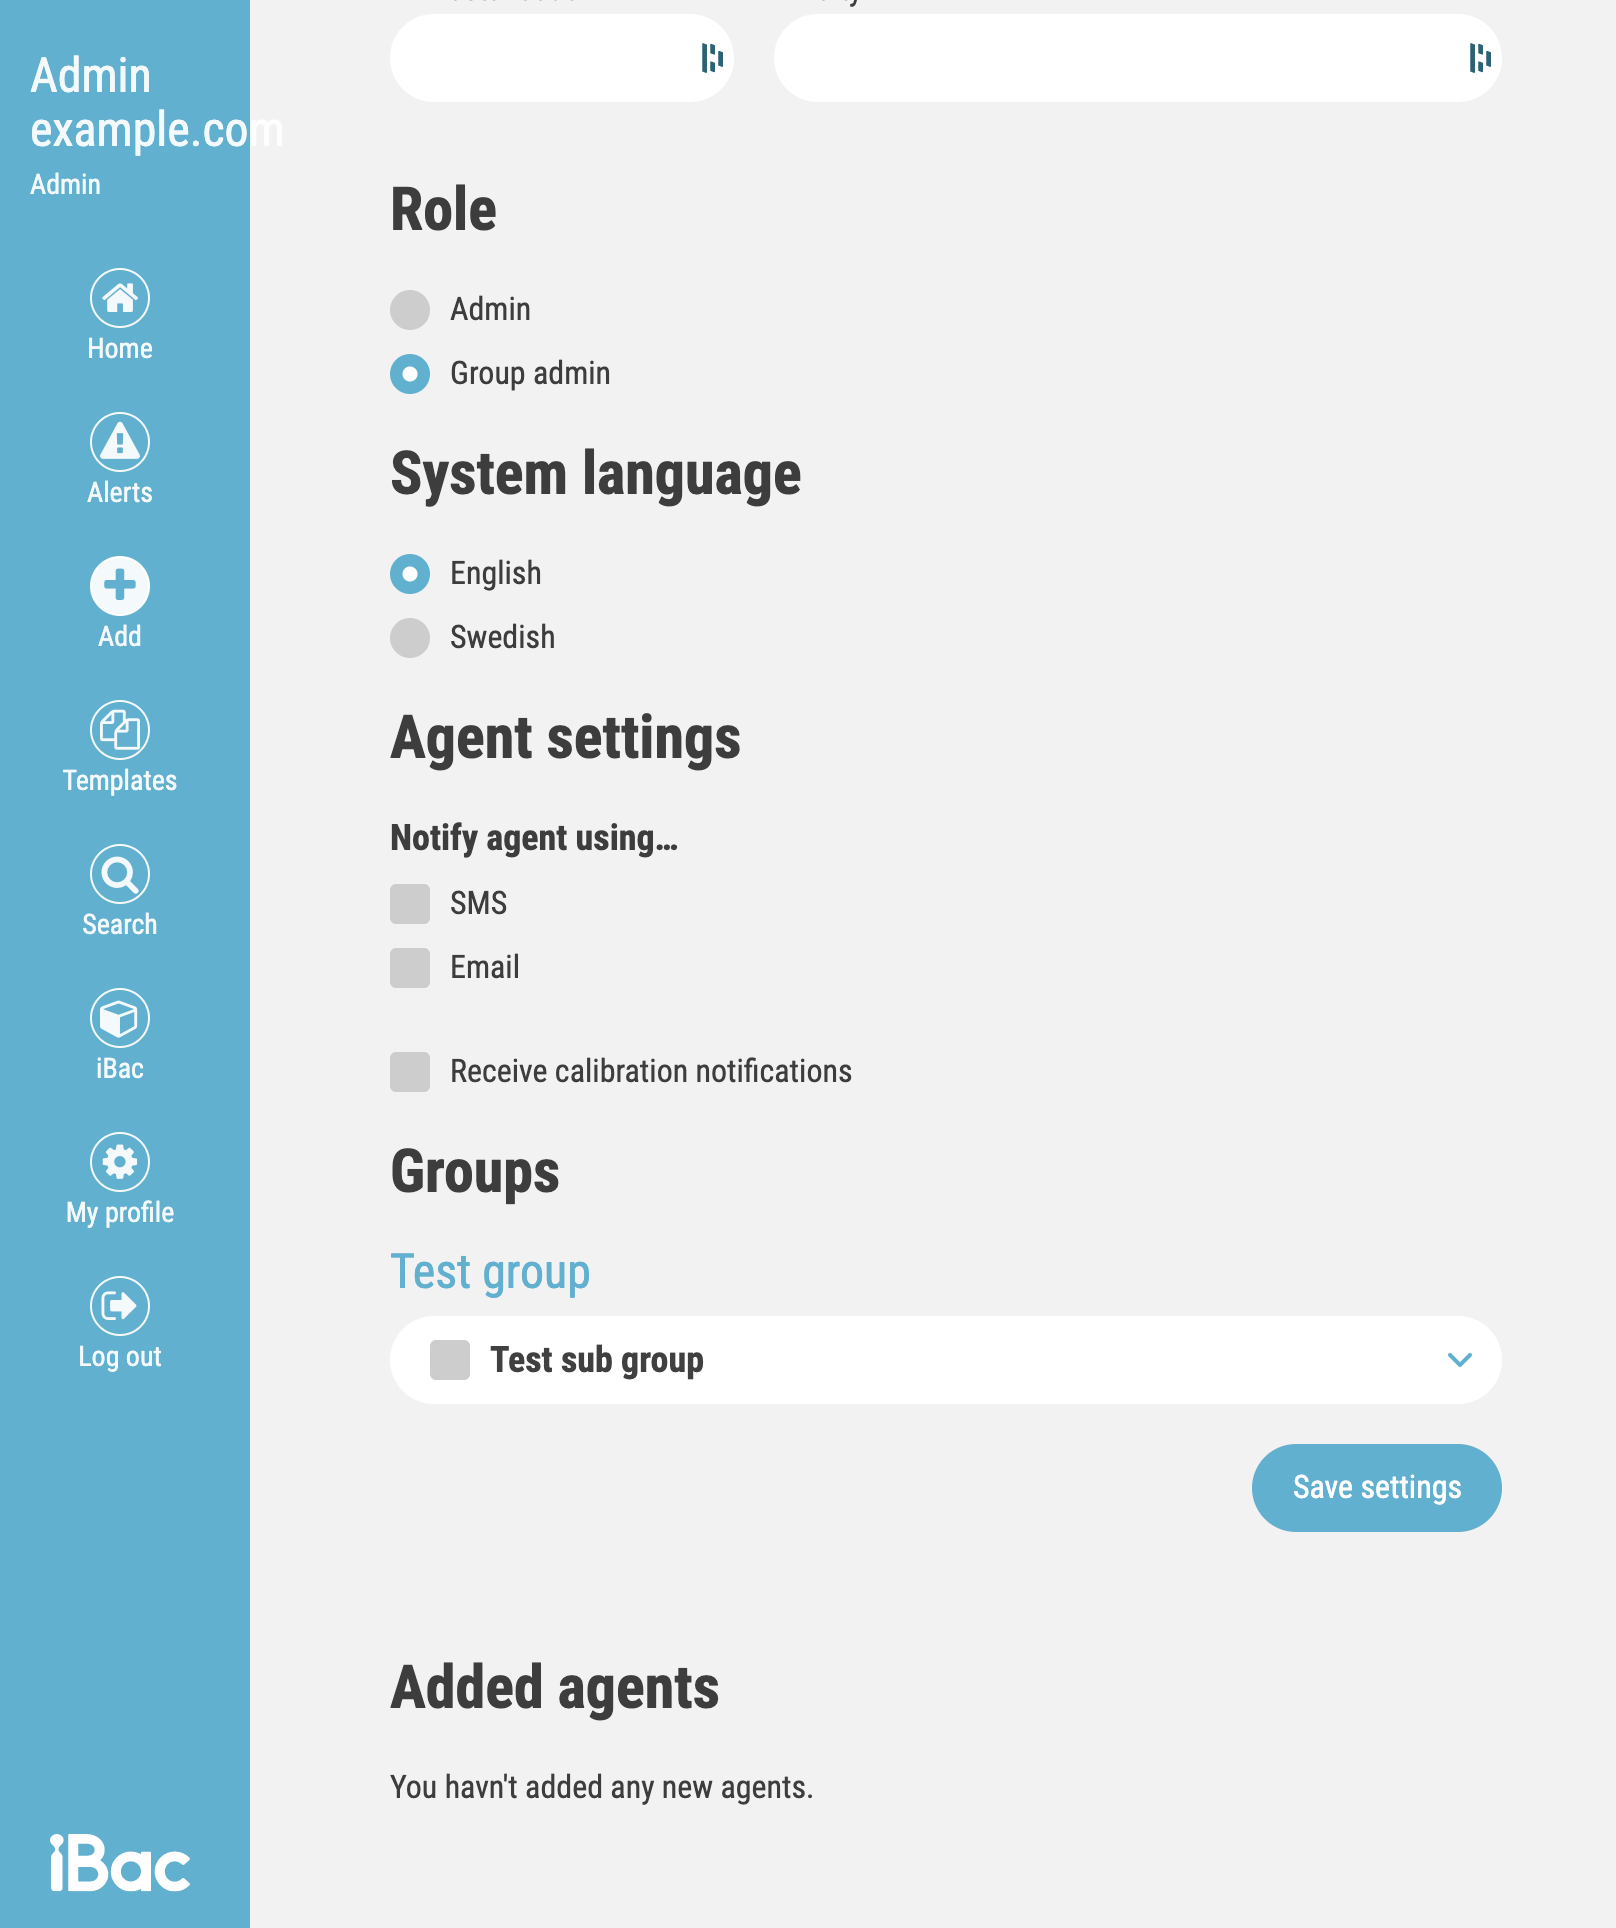
Create "Group admin"
If group admin option was chosen, continue with following steps:
-
Select the "Group admin" role.
-
Click on save settings.
-
Go to "Home".
-
Search for created "Group admin" and select in the search result.
-
Click "Edit agent".
-
Select those groups that "Group admin" should see.
-
Click on "Save settings".
Newly created admin (group admin) receives an invitation email upon successful creation of admin (group admin) on the server. This email contains an activation link, where the admin (group admin) will create his password. After this, he can use the account to log in to the Web UI.
Activate/deactivate agent
Each agent account can be activated/deactivated. A deactivated agent cannot use the iBac system anymore. Activation events are logged.
-
Login as "Admin" to https://web.ibacpro.com
-
Search for admin by his name or email on the main page.
-
Click on the admin’s name in the result list.
-
Click on the "ACTIVATE/DEACTIVATE" button.
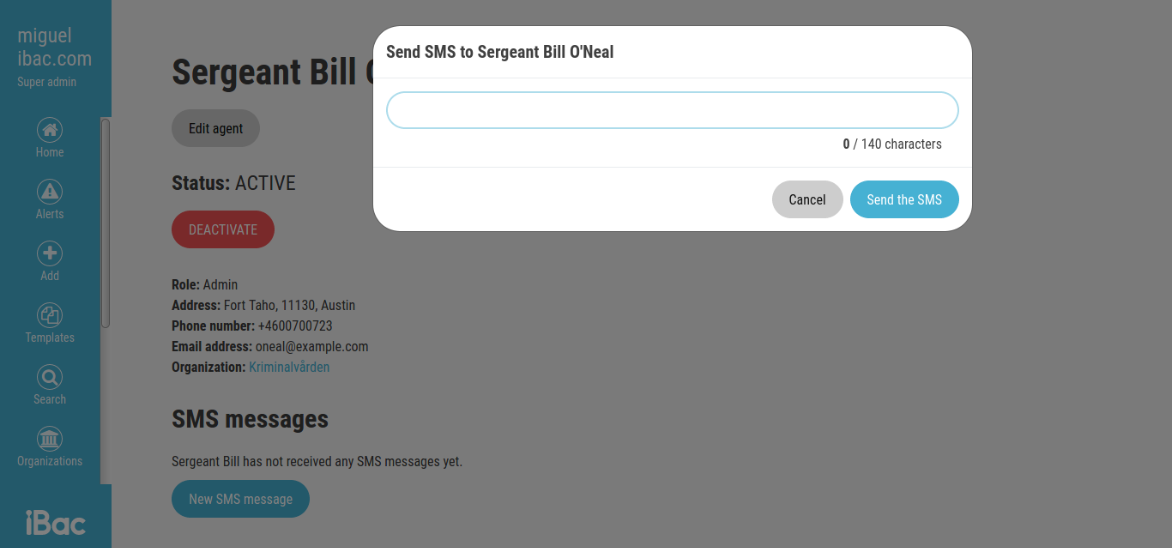
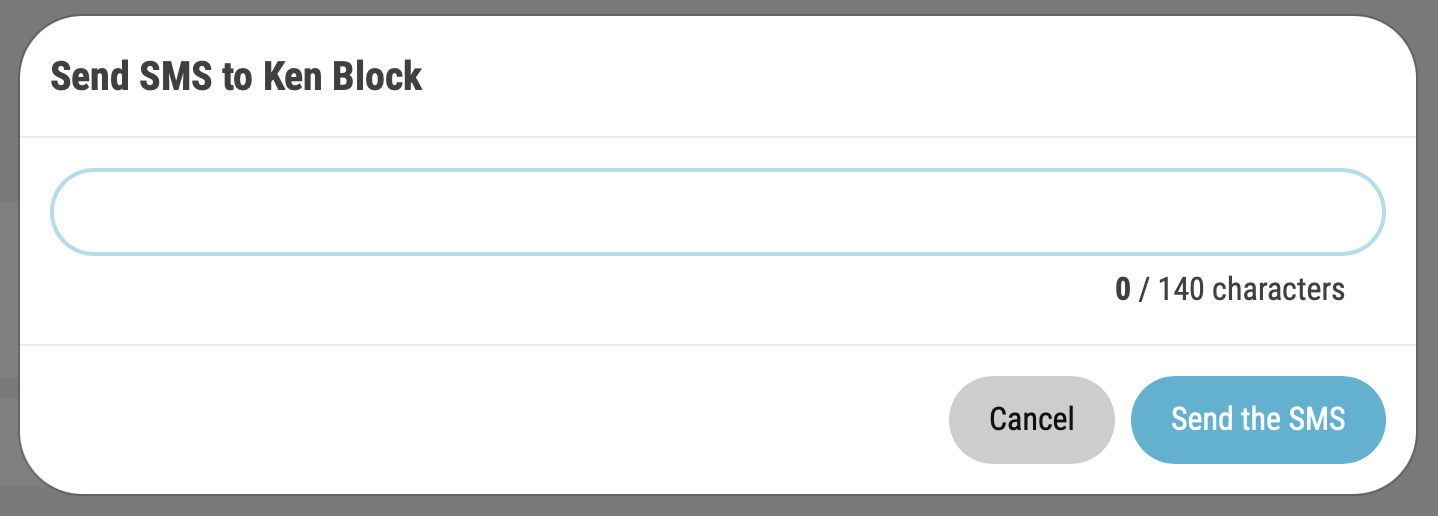
Send SMS to agent
Agents can send messages to other agents.
-
Login as "Admin" to https://web.ibacpro.com
-
Search for admin by his name or email on the main page.
-
Click on the admin’s name in the result list.
-
Click on the "New SMS message" button on the admin details page.
-
Window will appear.
-
Enter a message for the SMS.
-
Click on the "Send the SMS" button.

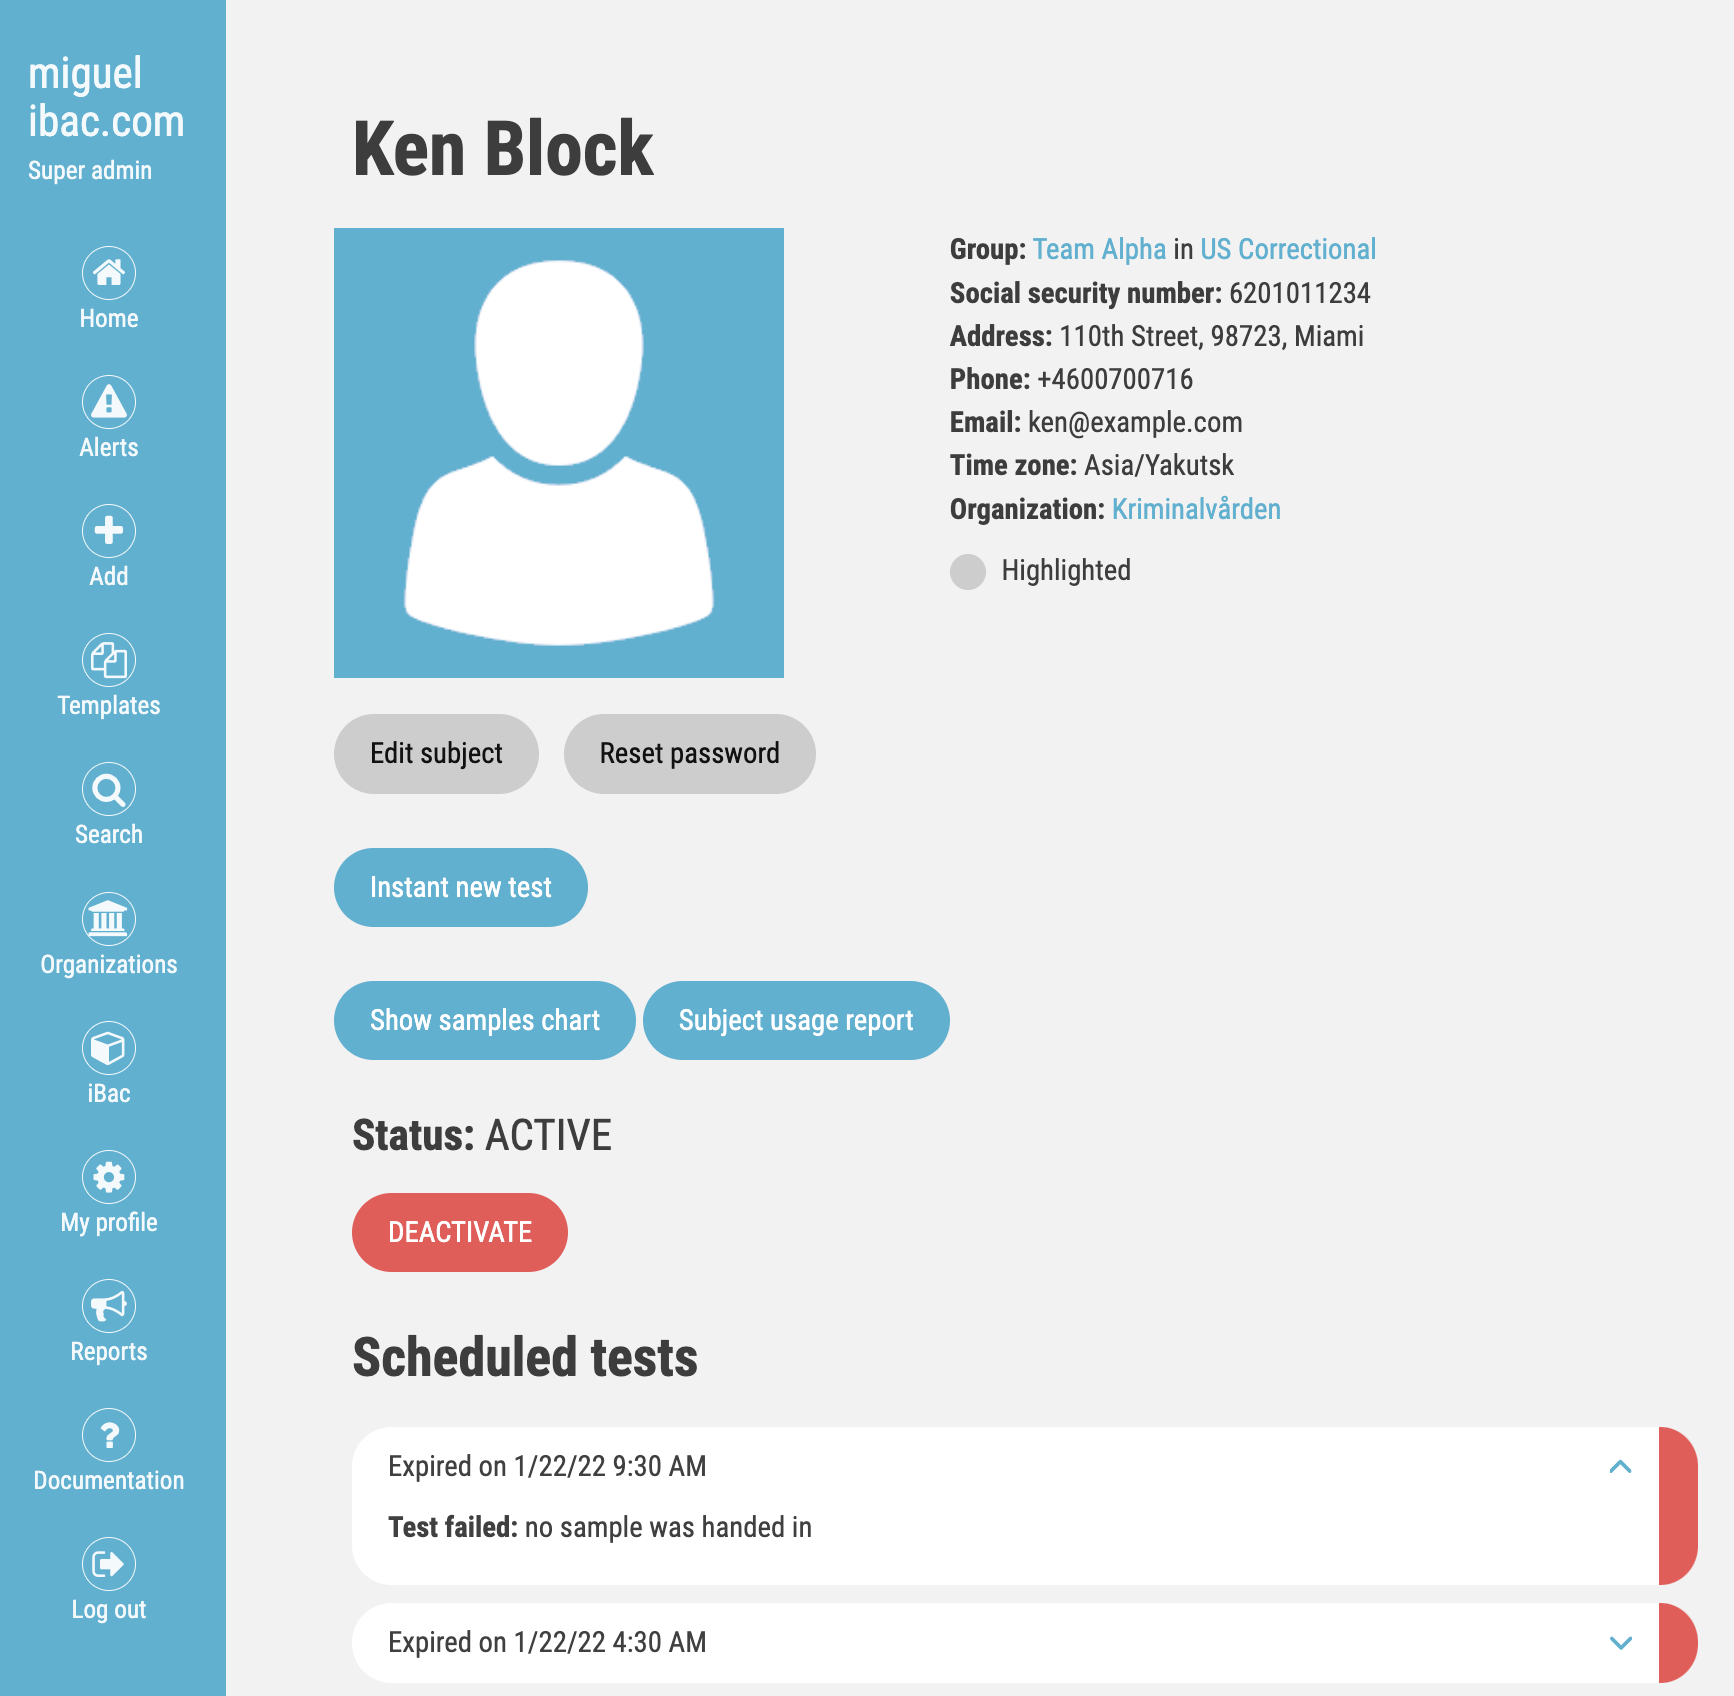
Subjects
A subject is a physical person, under supervision or not, and the individual that takes Alcohol samples with the breathalyzer and mobile apps. A subject always has a rule set, describing the rules to conform to, and (usually) one or more schedules that define when new required tests are opened and need a response. Each schedule is saved together with a start and end date describing the schedule period. This information about when and how to leave Alcohol samples with the iBac is considered the Treatment plan. If an organization has the demand to just do soberness tracking without the need to use scheduling of Tests, they can just onboard each subject and make them leave optional Alcohol Samples.
A subject needs to be on-boarded in the system being able to get invitations to new Tests and leave alcohol samples using the mobile apps. He/she is not considered active before the subject has launched the mobile app for the first time.
Administrators can create, edit or activate/deactivate subject account.
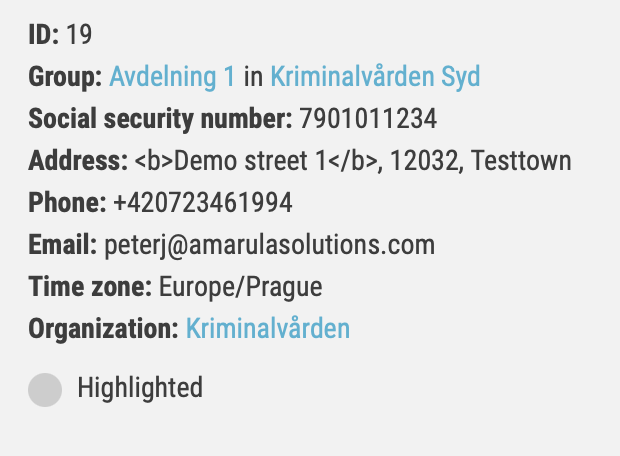
Subject ID
Each subject acccount has its own unique ID, which is automatically generated during creation. This ID is then displayed in subject details and with the name of the subject on "Home" screen. The ID is also used in notification messages to identify the subject (see Notification messages).

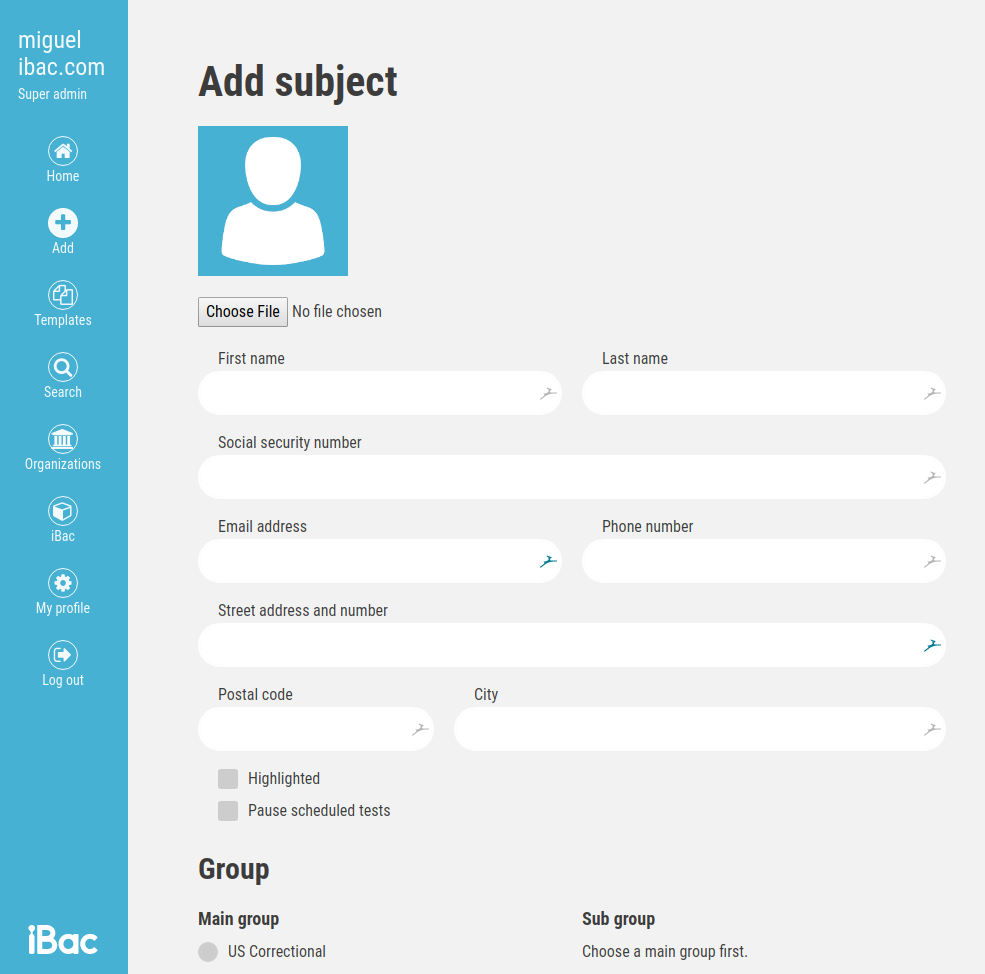
Create a subject
-
Login as "Admin" or "Group admin" to https://web.ibacpro.com
-
Click "Add" on the left menu.
-
Click on "Subject".
-
Set subject photo - not mandatory (see Set subject photo)
-
Fill in all fields with person and contact information (IMPORTANT: phone number must be entered in the correct format with country code: +37253641858).
-
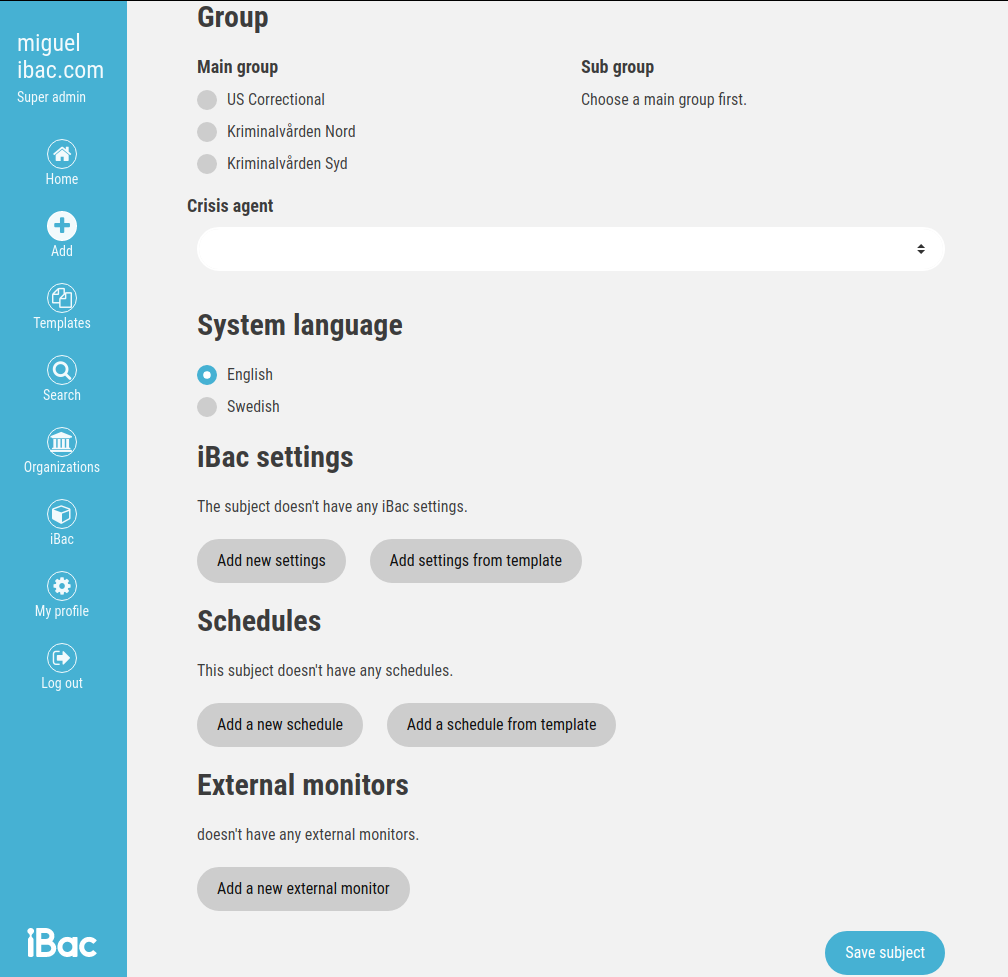
Select "Main group".
-
Select "Sub group".
-
Set iBac settings (see Set iBac settings).
-
Create a subject’s schedule - not mandatory (see Set subject’s "Schedule")
-
Click "Save subject" and if all values were entered correctly you should see the new "Subject" listed under "Added subjects".
-
Now you can add another "Subject" or finish by navigates to another page.
An activation email is sent to the Admin who created the subject account upon successful creation of the subject on the server. This email contains an activation link, where the Admin will set a password. After this, the account can be used to log in to the app.
| No scheduled tests will be created till the first login to the app. |
Assign iBac device to the Subject
Every subject can have assigned one iBac device. The subject can then use only this device to take alcohol samples. One iBac can be assigned to only one Subject.
-
Login as "Admin" to https://web.ibacpro.com
-
Search for the subject by his name or email on the main page.
-
Click on the subject’s name in the result list.
-
Click on the "Edit subject" button on the subject details page.
-
Select the MAC address of the iBac device to assign.
-
Save changes by click on the "Save subject" button at the bottom of the page.
It is also possible to assign iBac to the subject during subject creation.
Display assigned iBac
If subject has an assigned iBac, clickable link to assigned iBac is displayed in subject details.
Test/optional sample details in subject
Every alcohol sample comes with a photo to verify the person’s identity and that the subject is actually the one blowing in the Ibac. Device color is a part of the proof of test that Alcosystems use.
Face recognition
| The face recognition process is triggered only if there are any profile pictures uploaded for the subject and the feature is enabled for the organization |
For each uploaded alcohol sample, there is also a Face recognition result being displayed:
-
Face recognition result - the final result based on each comparison and all checks
-
Face recognition created by - by which process the result was created (FRS or manual override by admin)
-
Fail reason (if result is FAILED) - details of FRS fail reason

Manual override
For cases, when the administrator does a “manual” check of the photo and finds out that the result created by FRS is wrong (FRS results as FAILED, but admin can see that the person on the photo is correct), it is possible to manually “override” the result. The button for this is displayed below the test photo.
-
If FRS result is PASSED - the button is red X to mark as FAILED
-
If FRS result is FALIED - the button is green “TICK” to mark as PASSED
Once the Face recognition result is overridden, the “Face recognition created by” is changed to the admin, who did the override.
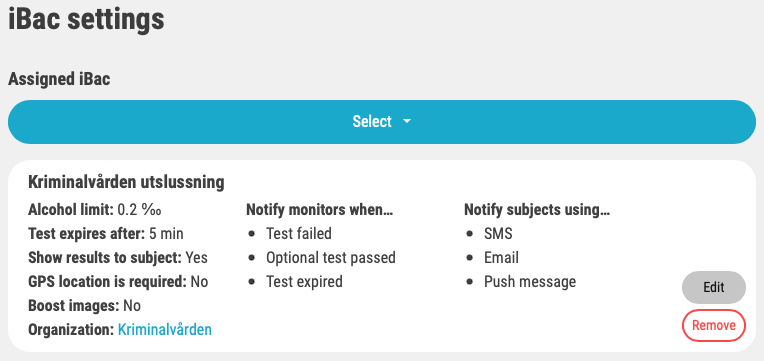
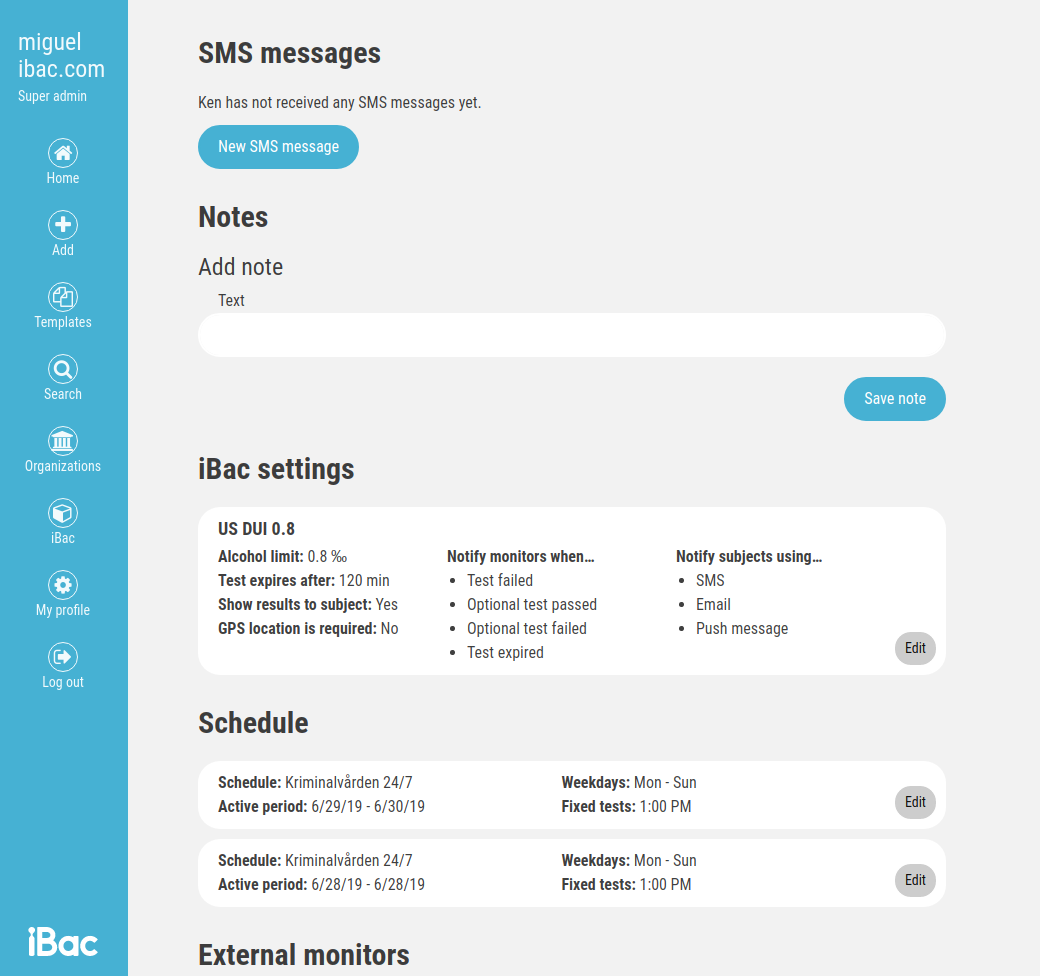
Set iBac settings
Use the "iBac settings" template.
-
Click "Add new settings from template" on the edit subject page.
-
Select the settings template from the list.
-
Click "Use settings".
Create a new "iBac settings".
-
Click "Add new settings" in the edit subject page.
-
Enter the alcohol limit for the subject.
-
Enter a time of test expiration (how long will be the created test opened) in minutes (IMPORTANT: minimal permitted value is 5 minutes).
-
Set whether to display alcohol value in the mobile application to the user at the end of the test.
-
Set when the agents assigned to this subject’s group should receive notifications.
-
Set which notification should subject receive (SMS, Email, push notification).
-
Set whether you want to save this setting as a template for future use. If you check this option you will be asked to set the name of the template.
-
Click "Save settings".

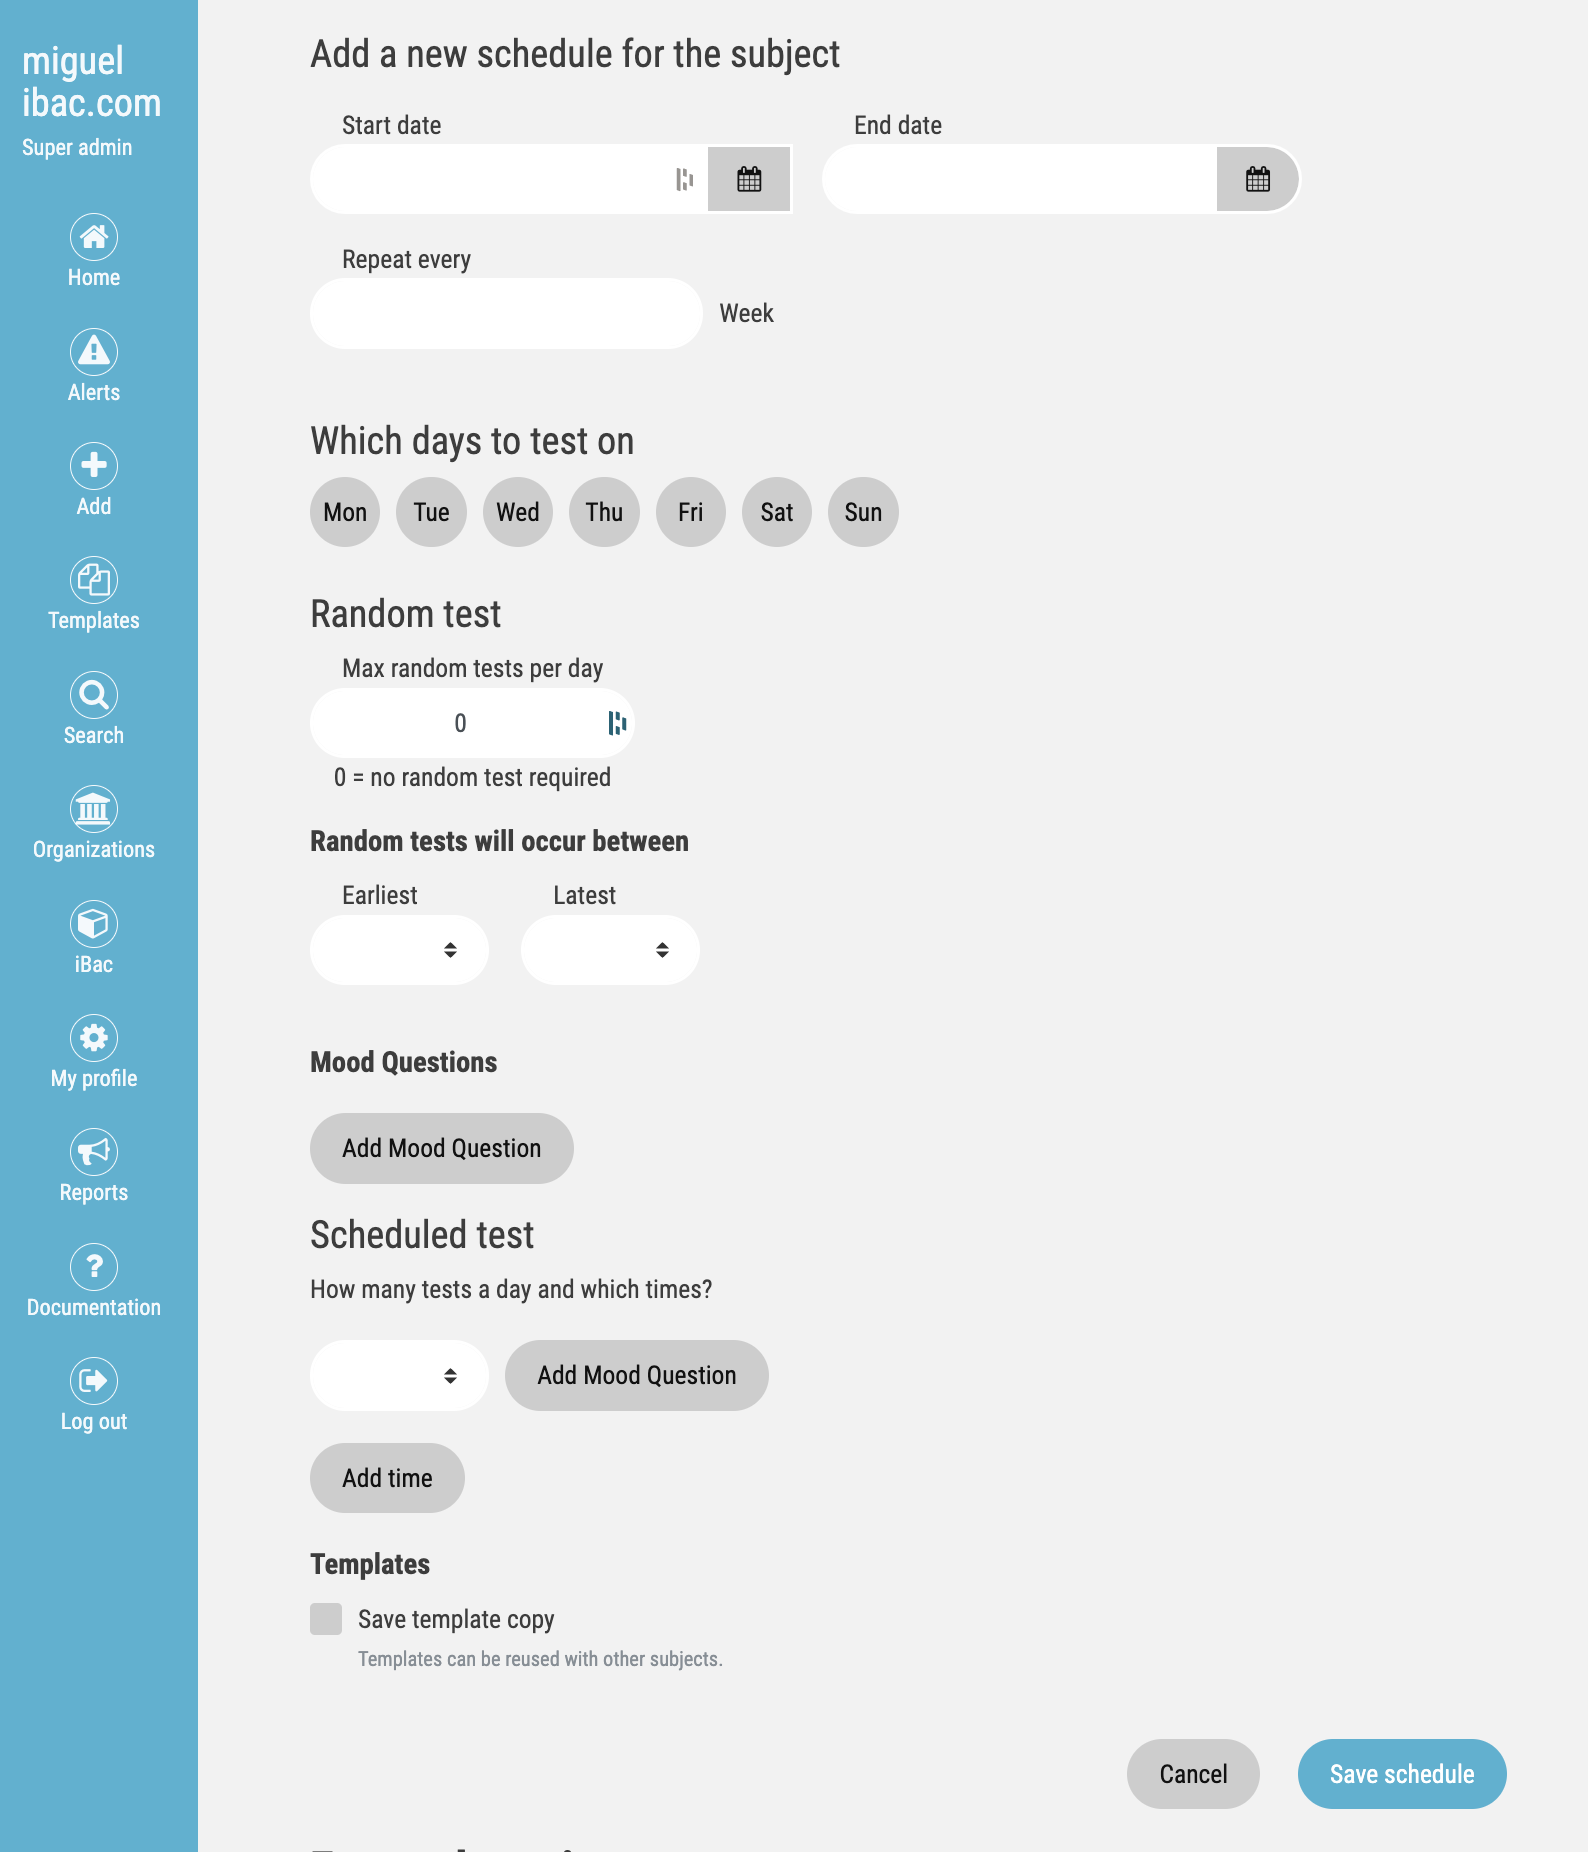
Set subject’s Schedule
The schedule configures the frequency of tests a subject will take. Scheduling can be done in three ways, by setting precise timestamps of a day and using a randomizer or using both of them combined. The idea is that the agent enables what days to test during the weeks, how many max random tests (if there are any) and on what fixed times. The schedule is individual to each subject.
Because each Schedule is individual to a specific Subject the agent can choose to store the schedule as a template for later use. Each schedule template needs to have a name and can be found under the Template area in the UI or as a quick add box on each Subject for next onboarding. See the Templates chapter for the creation process.
Use a schedule template.
-
Click "Add a schedule from template" on the edit subject page.
-
Select the schedule template from the list.
Create a new schedule.
-
Click "Create a new schedule" on the edit subject page.
-
Specify "Start date" and "End date" for specifying the period during which this schedule will be applied.
-
Select days of the week for which the "Schedule" should be applied (for example you can choose to only create tests during the weekend).
-
Set how many "Random tests" do you want to create for one day. Put 0 if you don’t want to create any "Random test".
-
Specify the time period during which the random tests are supposed to be created.
-
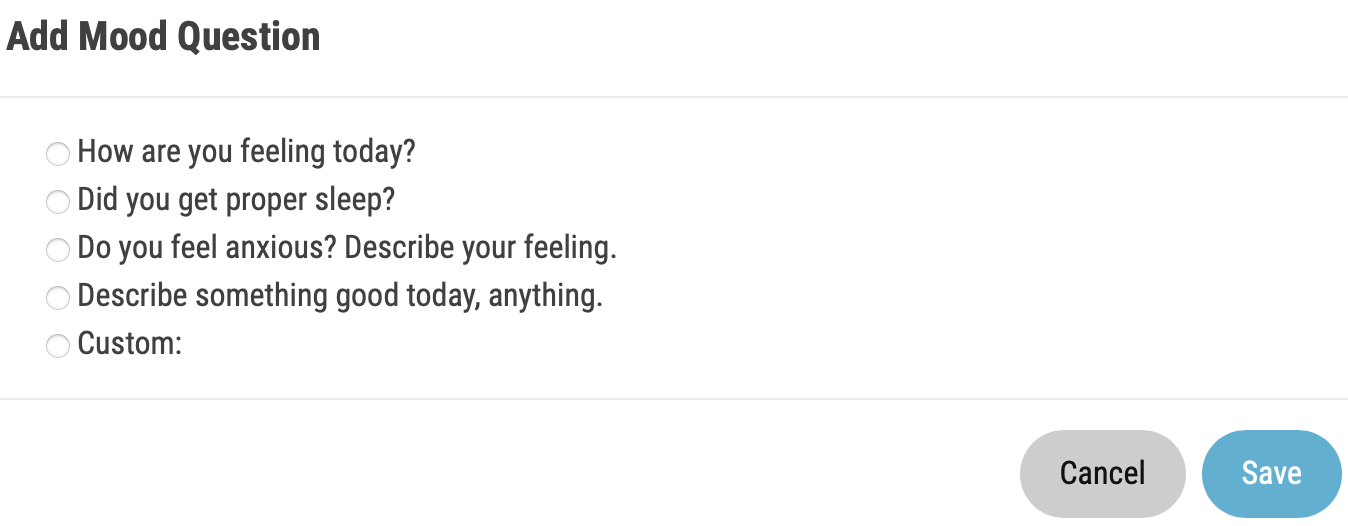
Click "Add Mood Question" to select a pre-defined mood question or select "Custom:" to enter custom mood question. Click "Save" and new mood question will be added to your "Random tests". You can add another question to the set of mood questions. You can then edit or remove the selected mood question with the button "Remove".
-
Specify the exact time of the scheduled test. You can add mood question for each time. For setting more than one "Scheduled test" click "Add time" and new time input will appear. You can then edit or remove the time and mood question with the button "Remove".
-
Set whether you want to save this "Schedule" as a template for future use. If you check this option you will be asked to set the name of the template.
Schedule period "repeat cycle"
For each schedule period it is possible to set a "repeat cycle" rule. It represents, how the schedule will be applied within the period. For example:
Schedule period set for 2 months - 1.7.2022 - 31.8.2022:
-
Repeat every 1 week
-
Schedule will be applied for each week from the schedule period
-
-
Repeat every 2 weeks
-
Schedule will be applied on 1. week, 3. week, 5. week and etc.
-
-
Repeat every 3 weeks
-
Schedule will be applied on 1. week, 4. week, 7. week and etc.
-
Notification messages
Admins which are set as monitors for the sub-group, will receive notification messages about the subjects of the sub-group. For each subject it is possible to set, which notifications will be sent to the monitors in the "iBac settings" (see Create a new "iBac settings".).
Each notification message contains following information:
-
result (failed/passed)
-
alcohol value (except Expired test)
-
subject ID
-
main group name
-
sub group name
The examples of notification messages:
-
Test passed
-
Test completed and passed with 0‰ by subject 123 from Sub group in Main group
-
-
Test failed
-
Test completed and failed with 1‰ by subject 123 from Sub group in Main group
-
-
Test expired
-
Test expired by subject 123 from Sub group in Main group
-
-
Optional test passed
-
Unscheduled optional alcohol sample was passed with 0‰ by subject 123 from Sub group in Main group
-
-
Optional test failed
-
Unscheduled optional alcohol sample was failed with 1‰ by subject 123 from Sub group in Main group
-
Activate/deactivate subject
Each subject account can be activated/deactivated. A deactivated subject cannot use the iBac system anymore. Activation events are logged.
-
Login as "Admin" to https://web.ibacpro.com
-
Search for the subject by his name or email on the main page.
-
Click on the subject’s name in the result list.
-
Click on the "ACTIVATE/DEACTIVATE" button.
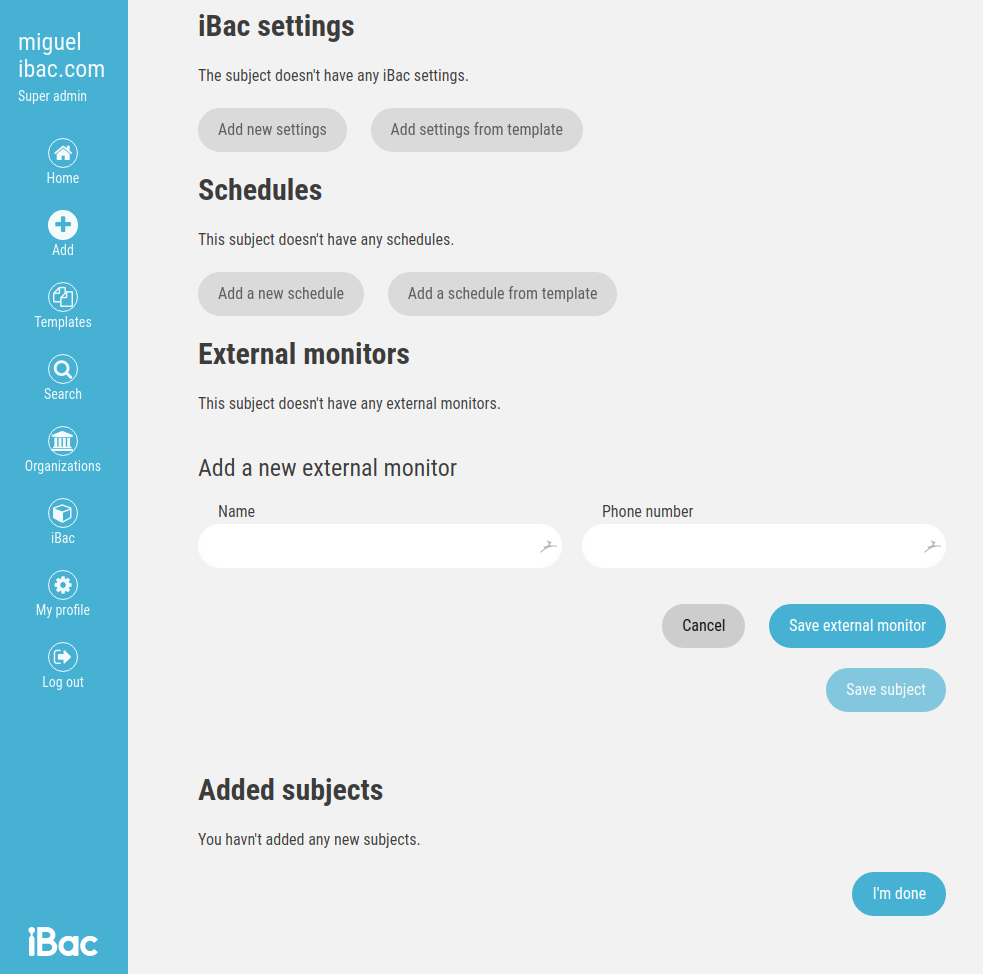
Set subject’s "External monitors"
-
Click on the "Add new external monitor" button on the edit subject page.
-
Fill in info about external monitor:
-
Phone number - mandatory
-
Name - optional
-
-
Click on the "Save external monitor" button.
-
Repeat to add another one.
-
E-mail
Move subject between groups
All subjects can be moved between all main/sub groups inside their organization.
-
Login as "Admin" to https://web.ibacpro.com
-
Search for the subject by his name or email on the main page.
-
Click on the subject’s name in the result list.
-
Click on the "Edit subject" button on the subject details page.
-
Select different main/sub group from the list.
-
Save changes by click on the "Save subject" button at the bottom of the page.
Profile photo
For each subject, it is possible to upload a profile photo. It is possible to select and upload more photos. All the photos are then used for the automatic face recognition to check the uploaded alcohol sample photos.
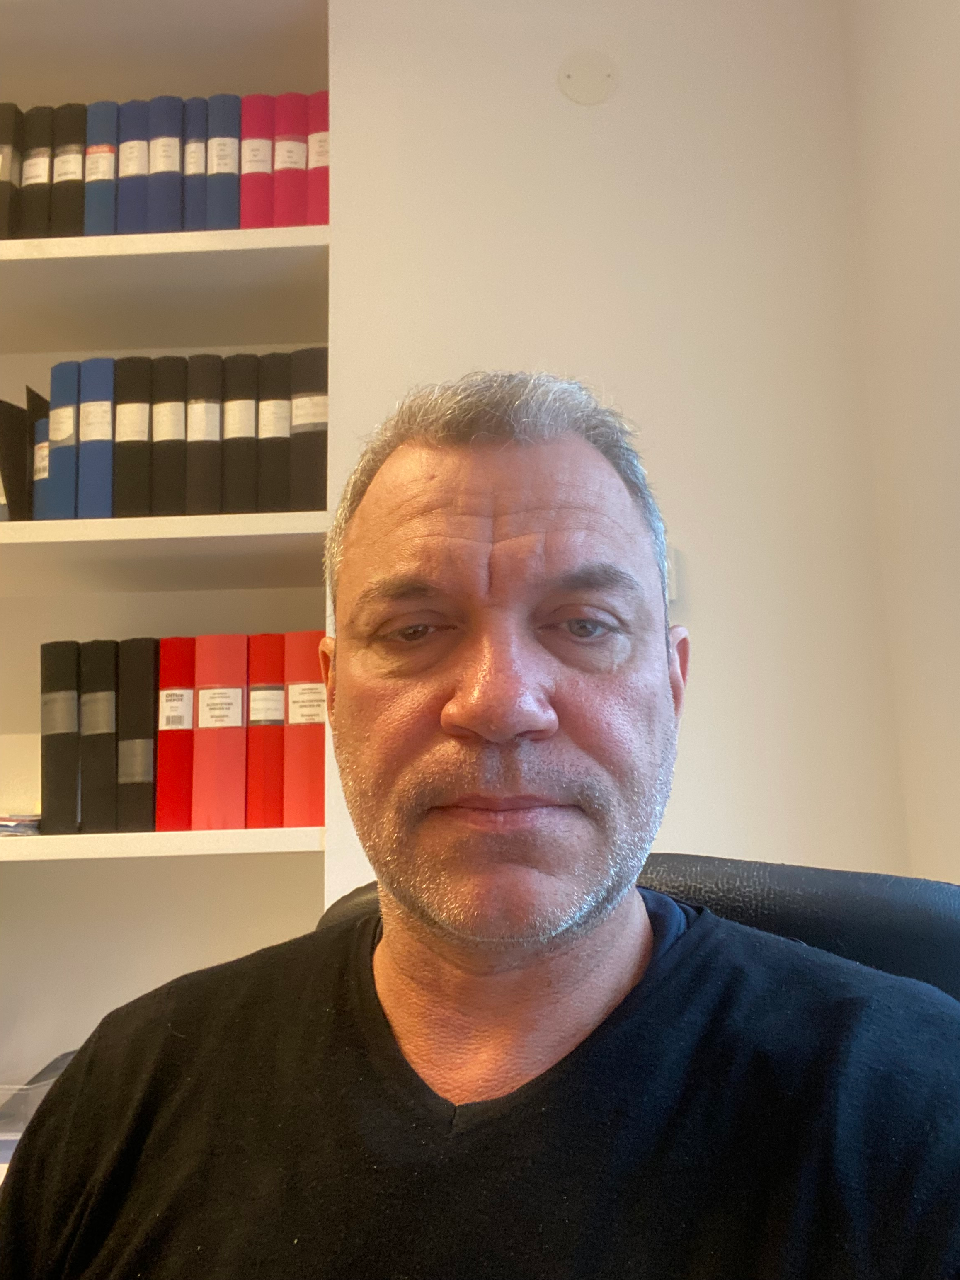
Photo requirements
To ensure that face recognition works most reliably, it is needed that uploaded photos fulfill following requirements:
-
"Passport style" photo
-
Background should be light and of single colour, without extraneous objects (including patterns)
-
The person on the photograph should not wear headwear or headphones
-
The eyes must be visible from behind the spectacle frames and glasses may not reflect light
-
Slightly different angles on each photo are preferred, but both eyes must be visible on each photo
-
Good light conditions
-
3-5 distinct photos uploaded
-
The size of a photo must be between 1 MB and 5 MB. Pixel dimensions must be max 1300 x 1600 pixels
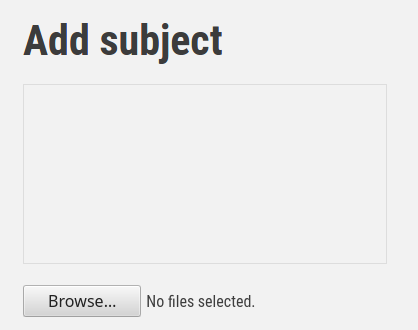
Set/change subject photo
-
Click on the "Browse" button under the blank rectangle on the subject edit page.
-
Select image file from your computer in the supported format: .png, jpg.
-
The photo is uploaded together with all subject information upon click on the "Save subject" button at the end of the form.
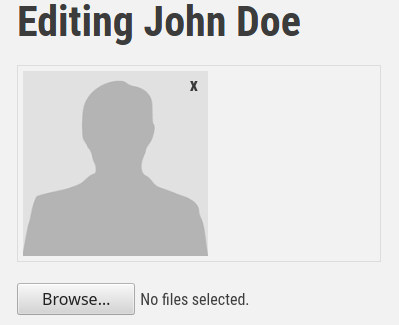
Remove subject photo
-
Go to the subject edit page from the subject detail page.
-
Place the cursor above the uploaded image and click on the "X" symbol in the top right corner of the subject photo.
-
The photo will be removed from the system upon click on the "Save subject" button at the end of the form.
Face recognition requirements
For most reliable results of the automatic face recognition, the following is needed:
-
The face must be fully visible on camera during whole blow test
-
The face must be as close as possible to the camera, approx. 25-35cm from the face, without overlap or being cropped outside the picture
-
The face shouldn’t be too much occluded by the hand which holds the iBac device
-
It is suggested to hold the device from the bottom with fingers only to minimize the face occlusion
-
There should be enough light on the picture
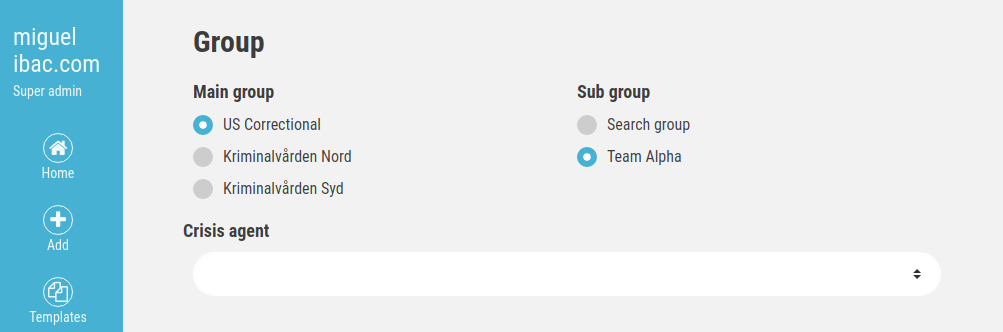
Set "Crisis agent"
Every subject can have set one "Crisis agent". The subject will then have the possibility to send a direct "crisis" SMS from the mobile application.
-
Login as "Admin" to https://web.ibacpro.com
-
Search for the subject by his name or email on the main page.
-
Click on the subject’s name in the result list.
-
Click on the "Edit subject" button on the subject details page.
-
Select one agent from the list in "Crisis agent" selection.
-
Save changes by click on the "Save subject" button at the bottom of the page.
Send SMS to subject
-
Login as "Admin" to https://web.ibacpro.com
-
Search for the subject by his name or email on the main page.
-
Click on the subject’s name in the result list.
-
Click on the "Send SMS" button on the subject details page.
-
Enter a message for the SMS.
-
Click on the "Send the SMS" button.
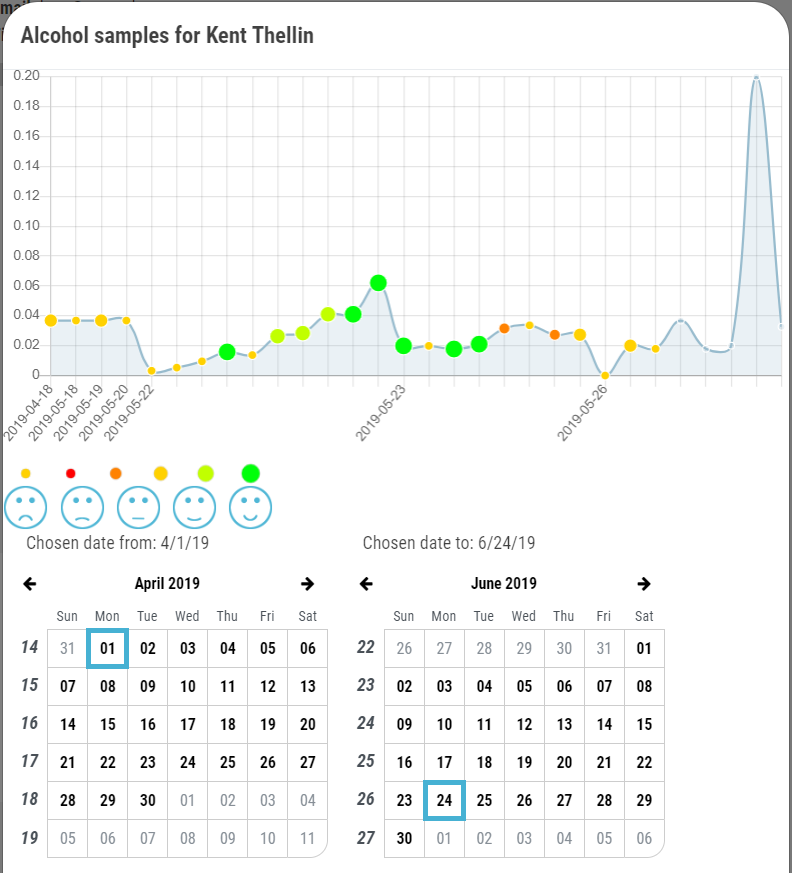
Display "Alcohol samples chart"
-
Login as "Admin" to https://web.ibacpro.com
-
Search for the subject by his name or email on the main page.
-
Click on the subject’s name in the result list.
-
Click on the "Show samples chart" button.
-
Select the date period for the graph.
-
The graph of the alcohol values for a given period will be displayed.
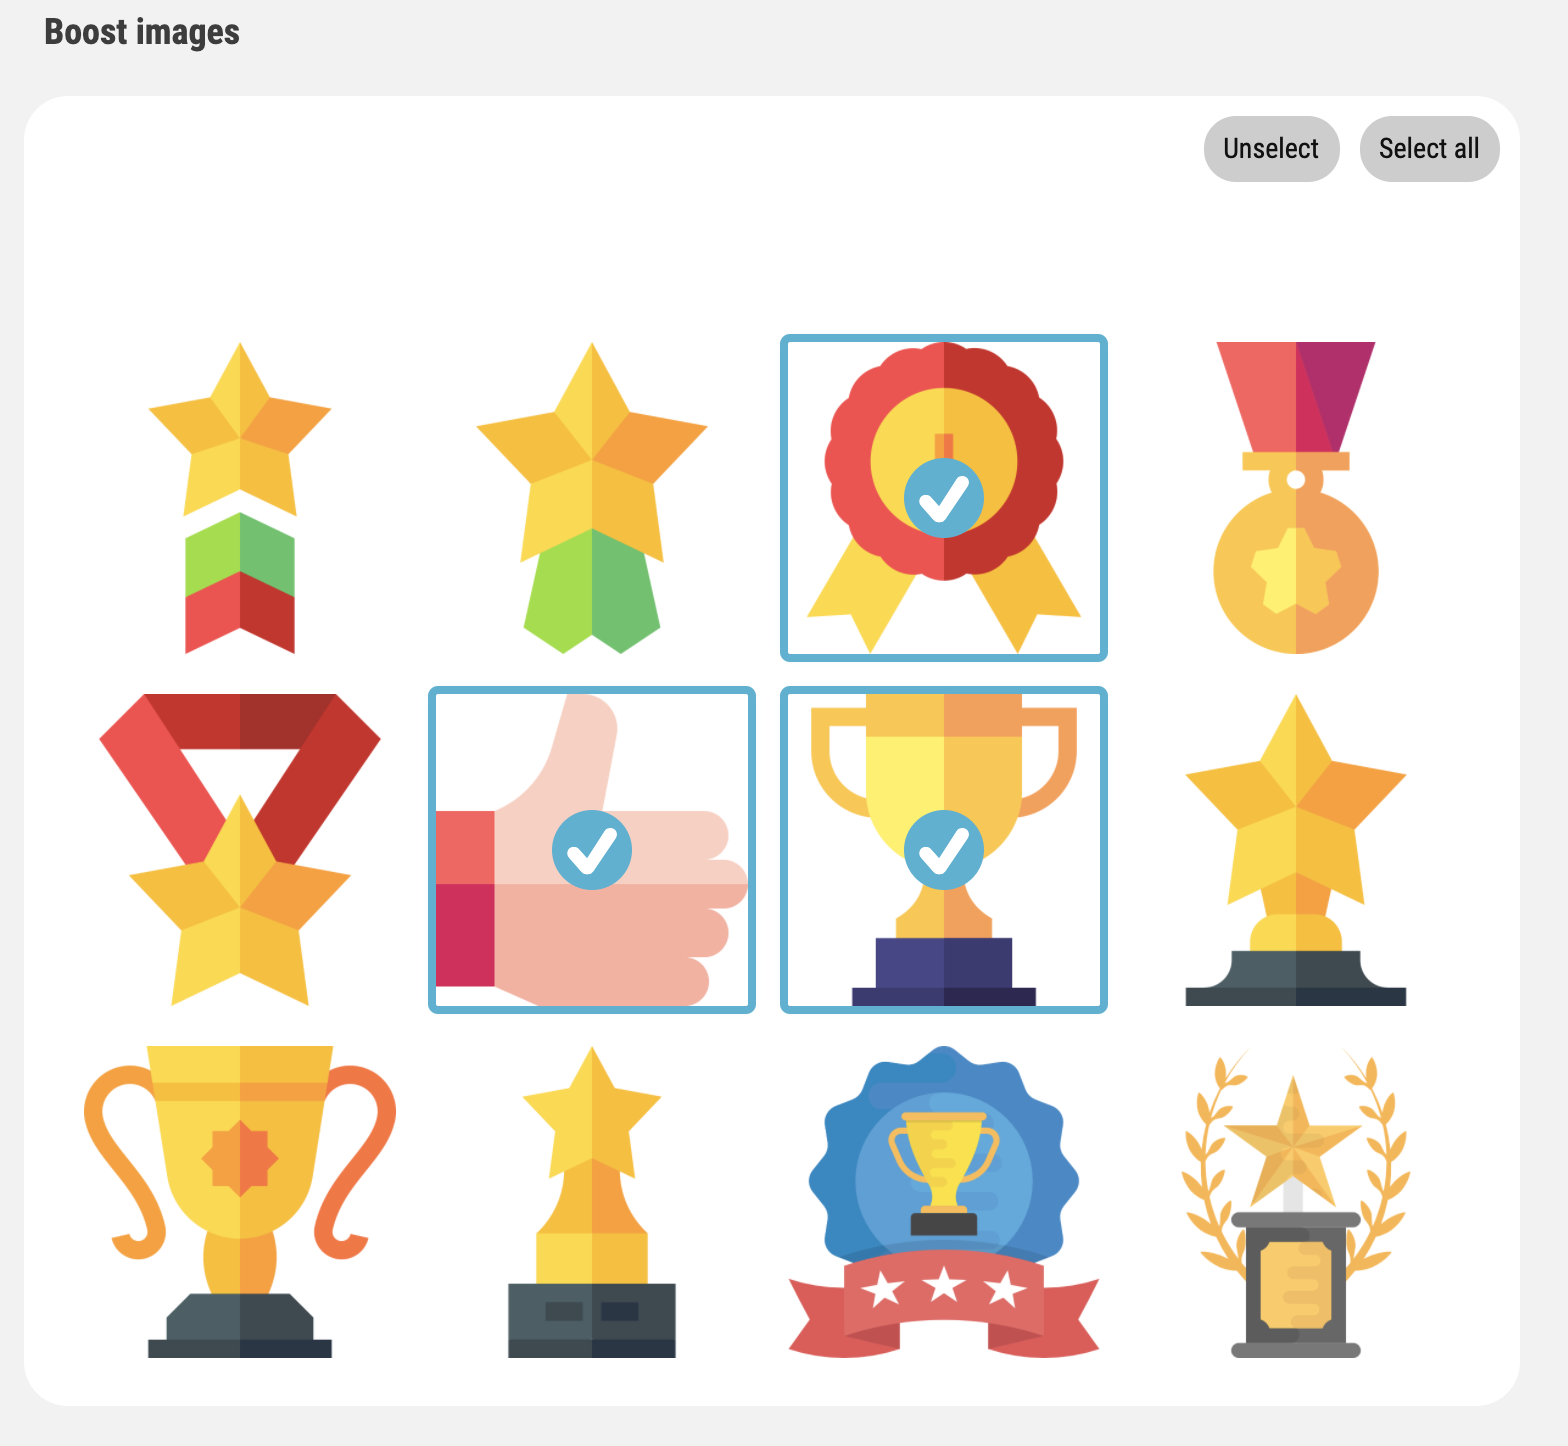
Boost images
For each subject, it is possible to enable the "Boost images" feature. It enables to display the special images on the result page to boost the subject. The picture is displayed as a "reward" for having 0 alcohol value in the performed test. The boost images feature can be enabled within the "iBac settings" of the subject.
-
Login as "Admin" to https://web.ibacpro.com.
-
Search for the subject by his name or email on the main page.
-
Click on the subject’s name in the result list.
-
Click on the "Edit subject" button.
-
Go to the "iBac settings" section.
-
Click on the "Edit" button "iBac settings" details.
-
Check "Boost images" option.
Upon enable in the iBac settings, the "Boost images" section is displayed in the subject form. There is a number of pre-defined images, from which the agent can select a set. One of the selected boost images will be then displayed in the subject’s app on the result screen.
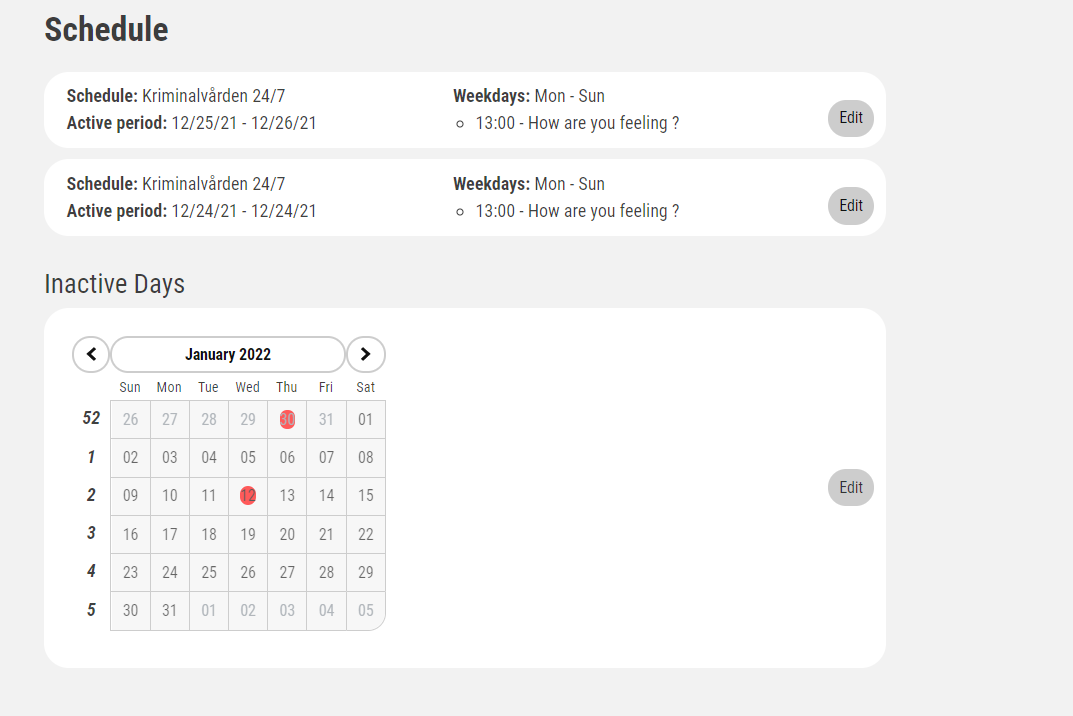
Inactive days
For each subject, it is possible to specify their "inactive days". No scheduled tests will be created for the given subject during his inactive days. This feature can be used to specify a single day or a period of days to skip the set schedule, for example, because of the subject’s vacation.
| Setting today as inactive will delete all non-completed scheduled tests for today. |
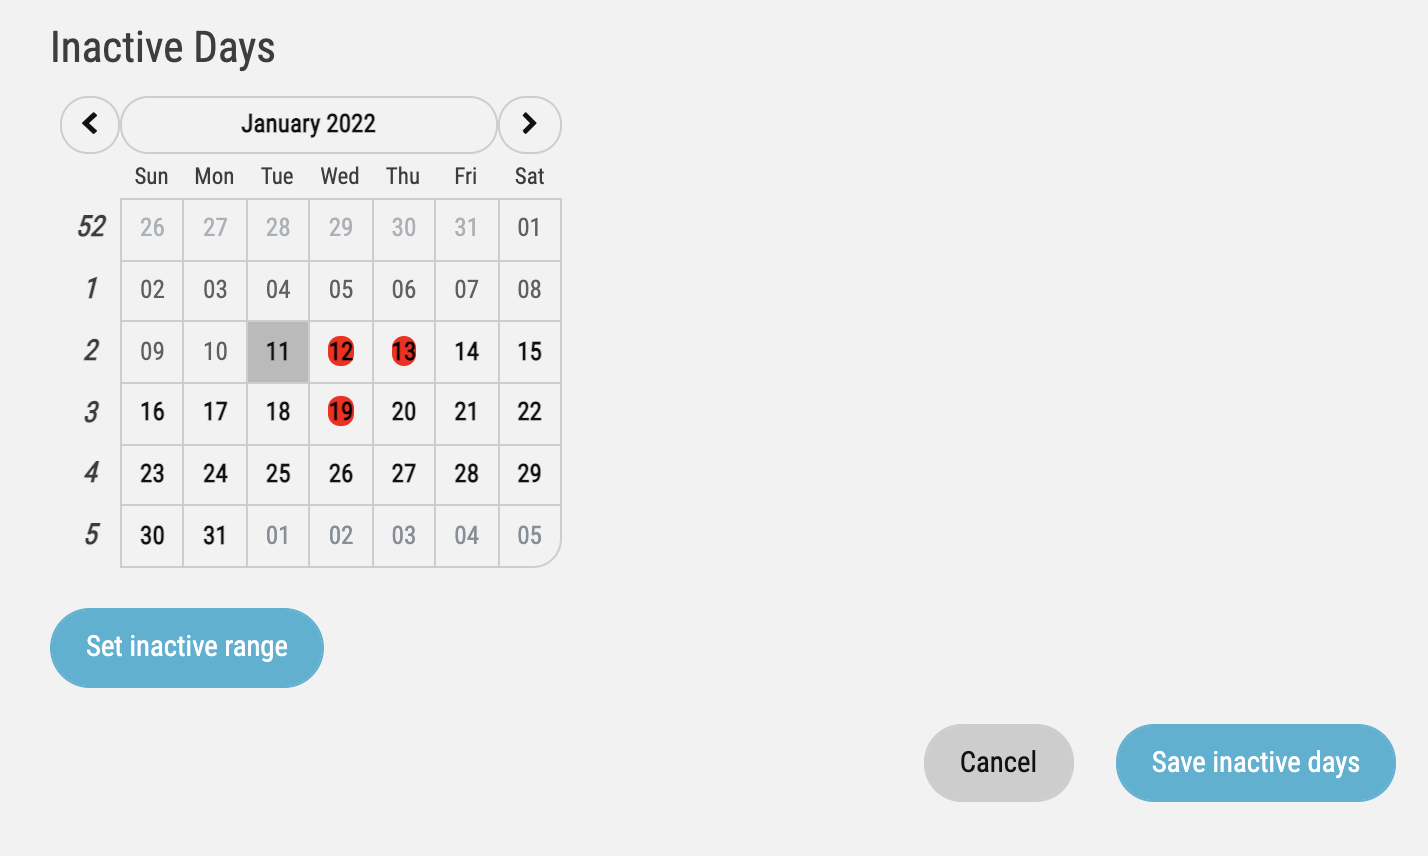
The inactive days are marked in the calendar by a red color. |
|
Set single day as active/inactive
|
|
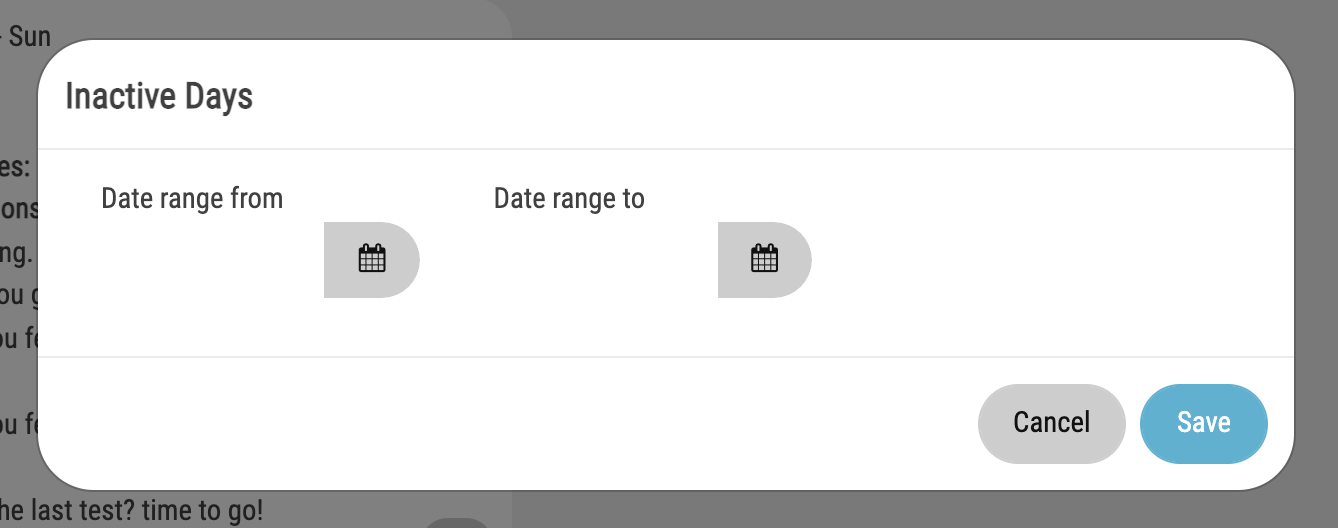
Set inactive range
|
|
Change or reset password
It is possible to reset the password for the subject account.
-
Login as "Admin" to https://web.ibacpro.com
-
Search for the subject by his name or email on the main page.
-
Click on the subject’s name in the result list.
-
Click on the "Reset password" button.
Templates
Create schedule template
-
Login as "Admin" to https://web.ibacpro.com
-
Click on "Add" on the left menu.
-
Click on "Schedule template".
-
Specify "Start date" and "End date" for specifying the period during which this schedule will be applied.
-
Select days of the week for which the "Schedule" should be applied (for example you can choose to only create tests during the weekend).
-
Set how many "Random tests" do you want to create for one day. Put 0 if you don’t want to create any "Random test".
-
Specify the time period during which the random tests are supposed to be created.
-
Specify the exact time of the scheduled test. For setting more than one "Scheduled test" click "Add time" and new time input will appear. You can then remove the time with the button "Remove".
-
Set whether you want to save this "Schedule" as a template for future use. If you check this option you will be asked to set the name of the template.
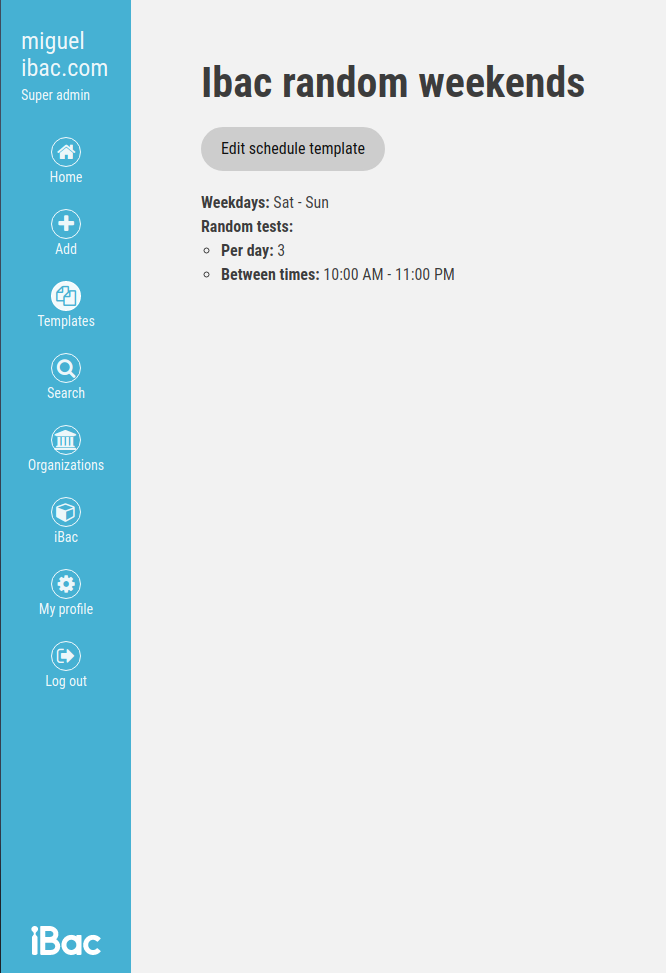
Edit schedule template
-
Login as "Admin" to https://web.ibacpro.com
-
Click on "Templates" on the left menu.
-
Click on "Schedule templates".
-
Select template from the list.
-
Click on "Edit schedule template" button.
-
Edit schedule.
-
Save changes by click on the "Save schedule" button.

Create settings template
-
Login as "Admin" to https://web.ibacpro.com
-
Click on "Add" on the left menu.
-
Click on the "Settings template".
-
Enter the alcohol limit for the subject.
-
Enter a time of test expiration (how long will be the created test opened) in minutes (IMPORTANT: minimal permitted value is 5 minutes).
-
Set whether to display alcohol value in the mobile application to the user at the end of the test.
-
Set when the agents assigned to this subject’s group should receive notifications.
-
Set which notification should subject receive (SMS, Email, push notification).
-
Set whether you want to save this setting as a template for future use. If you check this option you will be asked to set the name of the template.
-
Click "Save settings".
Edit settings template
-
Login as "Admin" to https://web.ibacpro.com
-
Click on "Templates" on the left menu.
-
Click on "Settings templates".
-
Select the template from the list.
-
Click on the "Edit settings template" button.
-
Edit settings.
-
Save changes by click on the "Save settings" button.

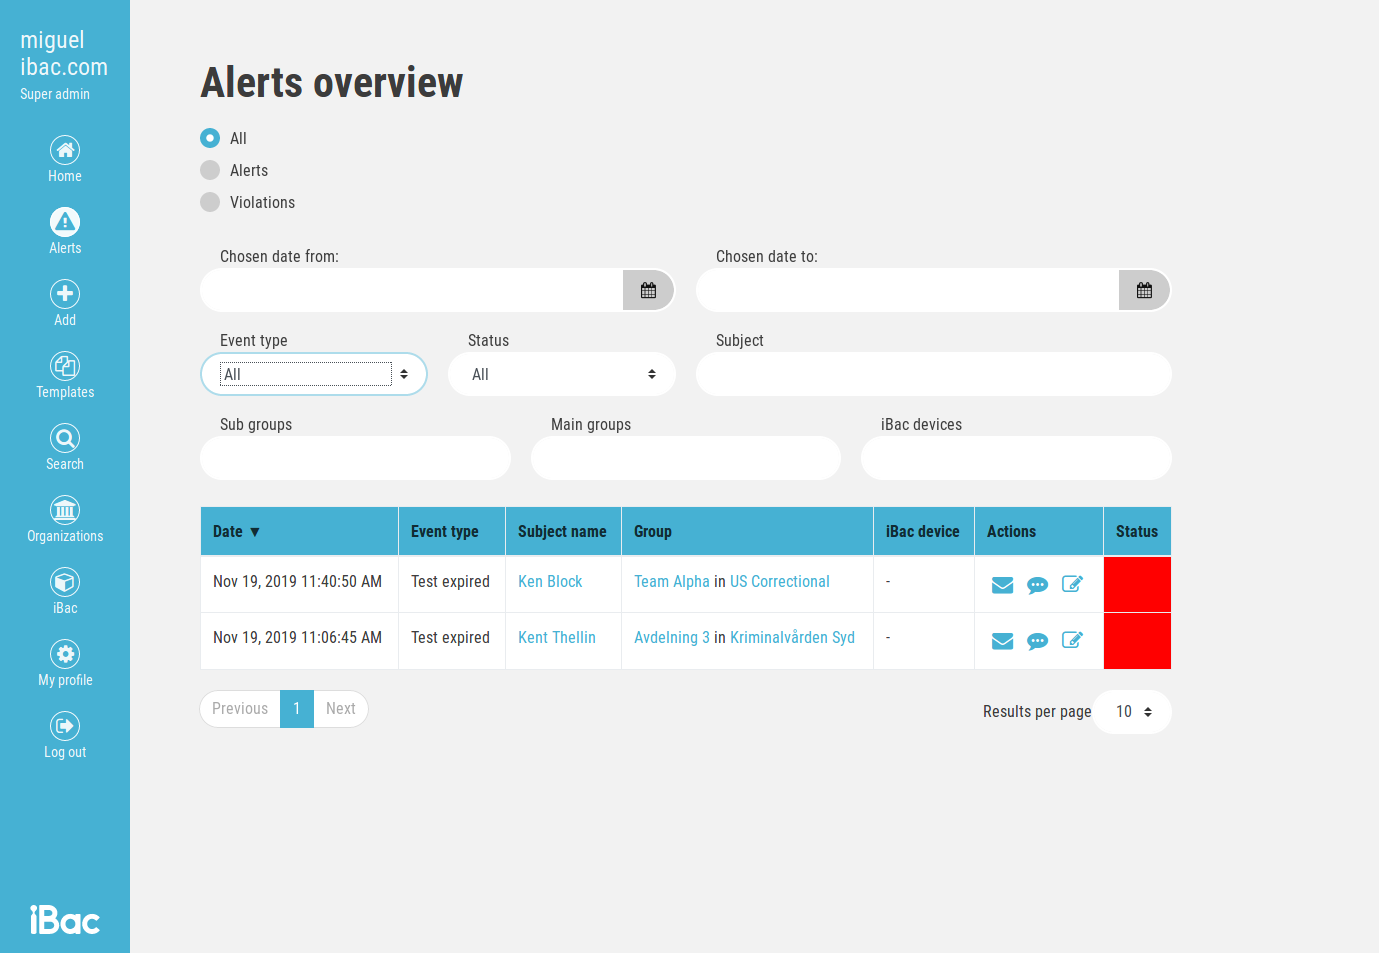
Alerts overview
The alerts overview page contains a complex view on all alerts and violations that occurred in the iBac system. Records are grouped to the two main categories:
-
Alerts
-
Violations
Display records
-
Login as "Admin" to https://web.ibacpro.com
-
Click on "Alerts" on the left menu. By default all categories are shown. By clicking on particular category it can be filtered accordingly e.g. by selecting the "Violations" option at the top of the page.
Sort results
Results in the table are sorted by date by default.
-
Login as "Admin" to https://web.ibacpro.com
-
Click on "Alerts" on the left menu.
-
Click on the column header to sort records by its values.
Filter results
All results can be filtered by the following options:
-
Date
-
Event type
-
Alert status
-
Subject name
-
Sub group name
-
Main group name
-
iBac device MAC address
It is possible to combine all types of filters.
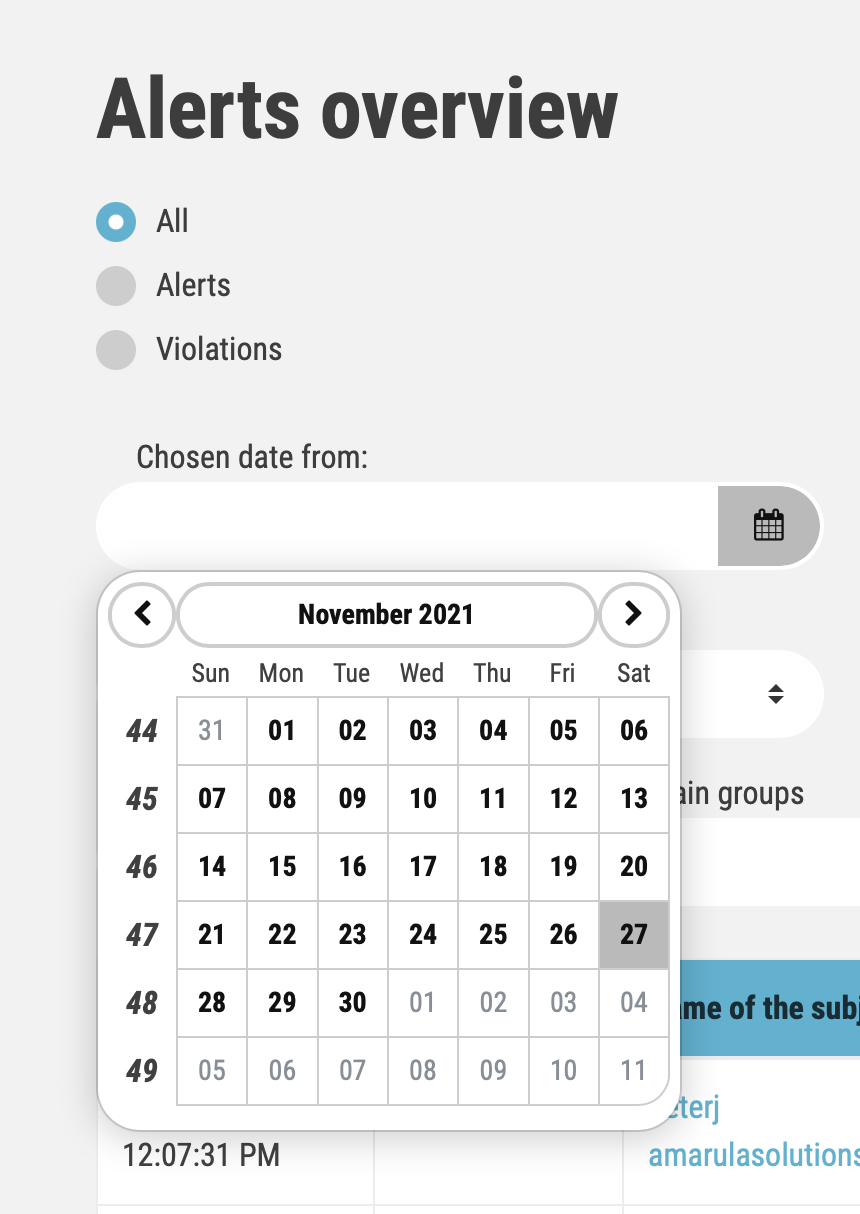
Filter by date
-
Login as "Admin" to https://web.ibacpro.com
-
Click on "Alerts" on the left menu.
-
Set "date from" and/or "date to".
-
Results are filtered to contain only records for a specified period.
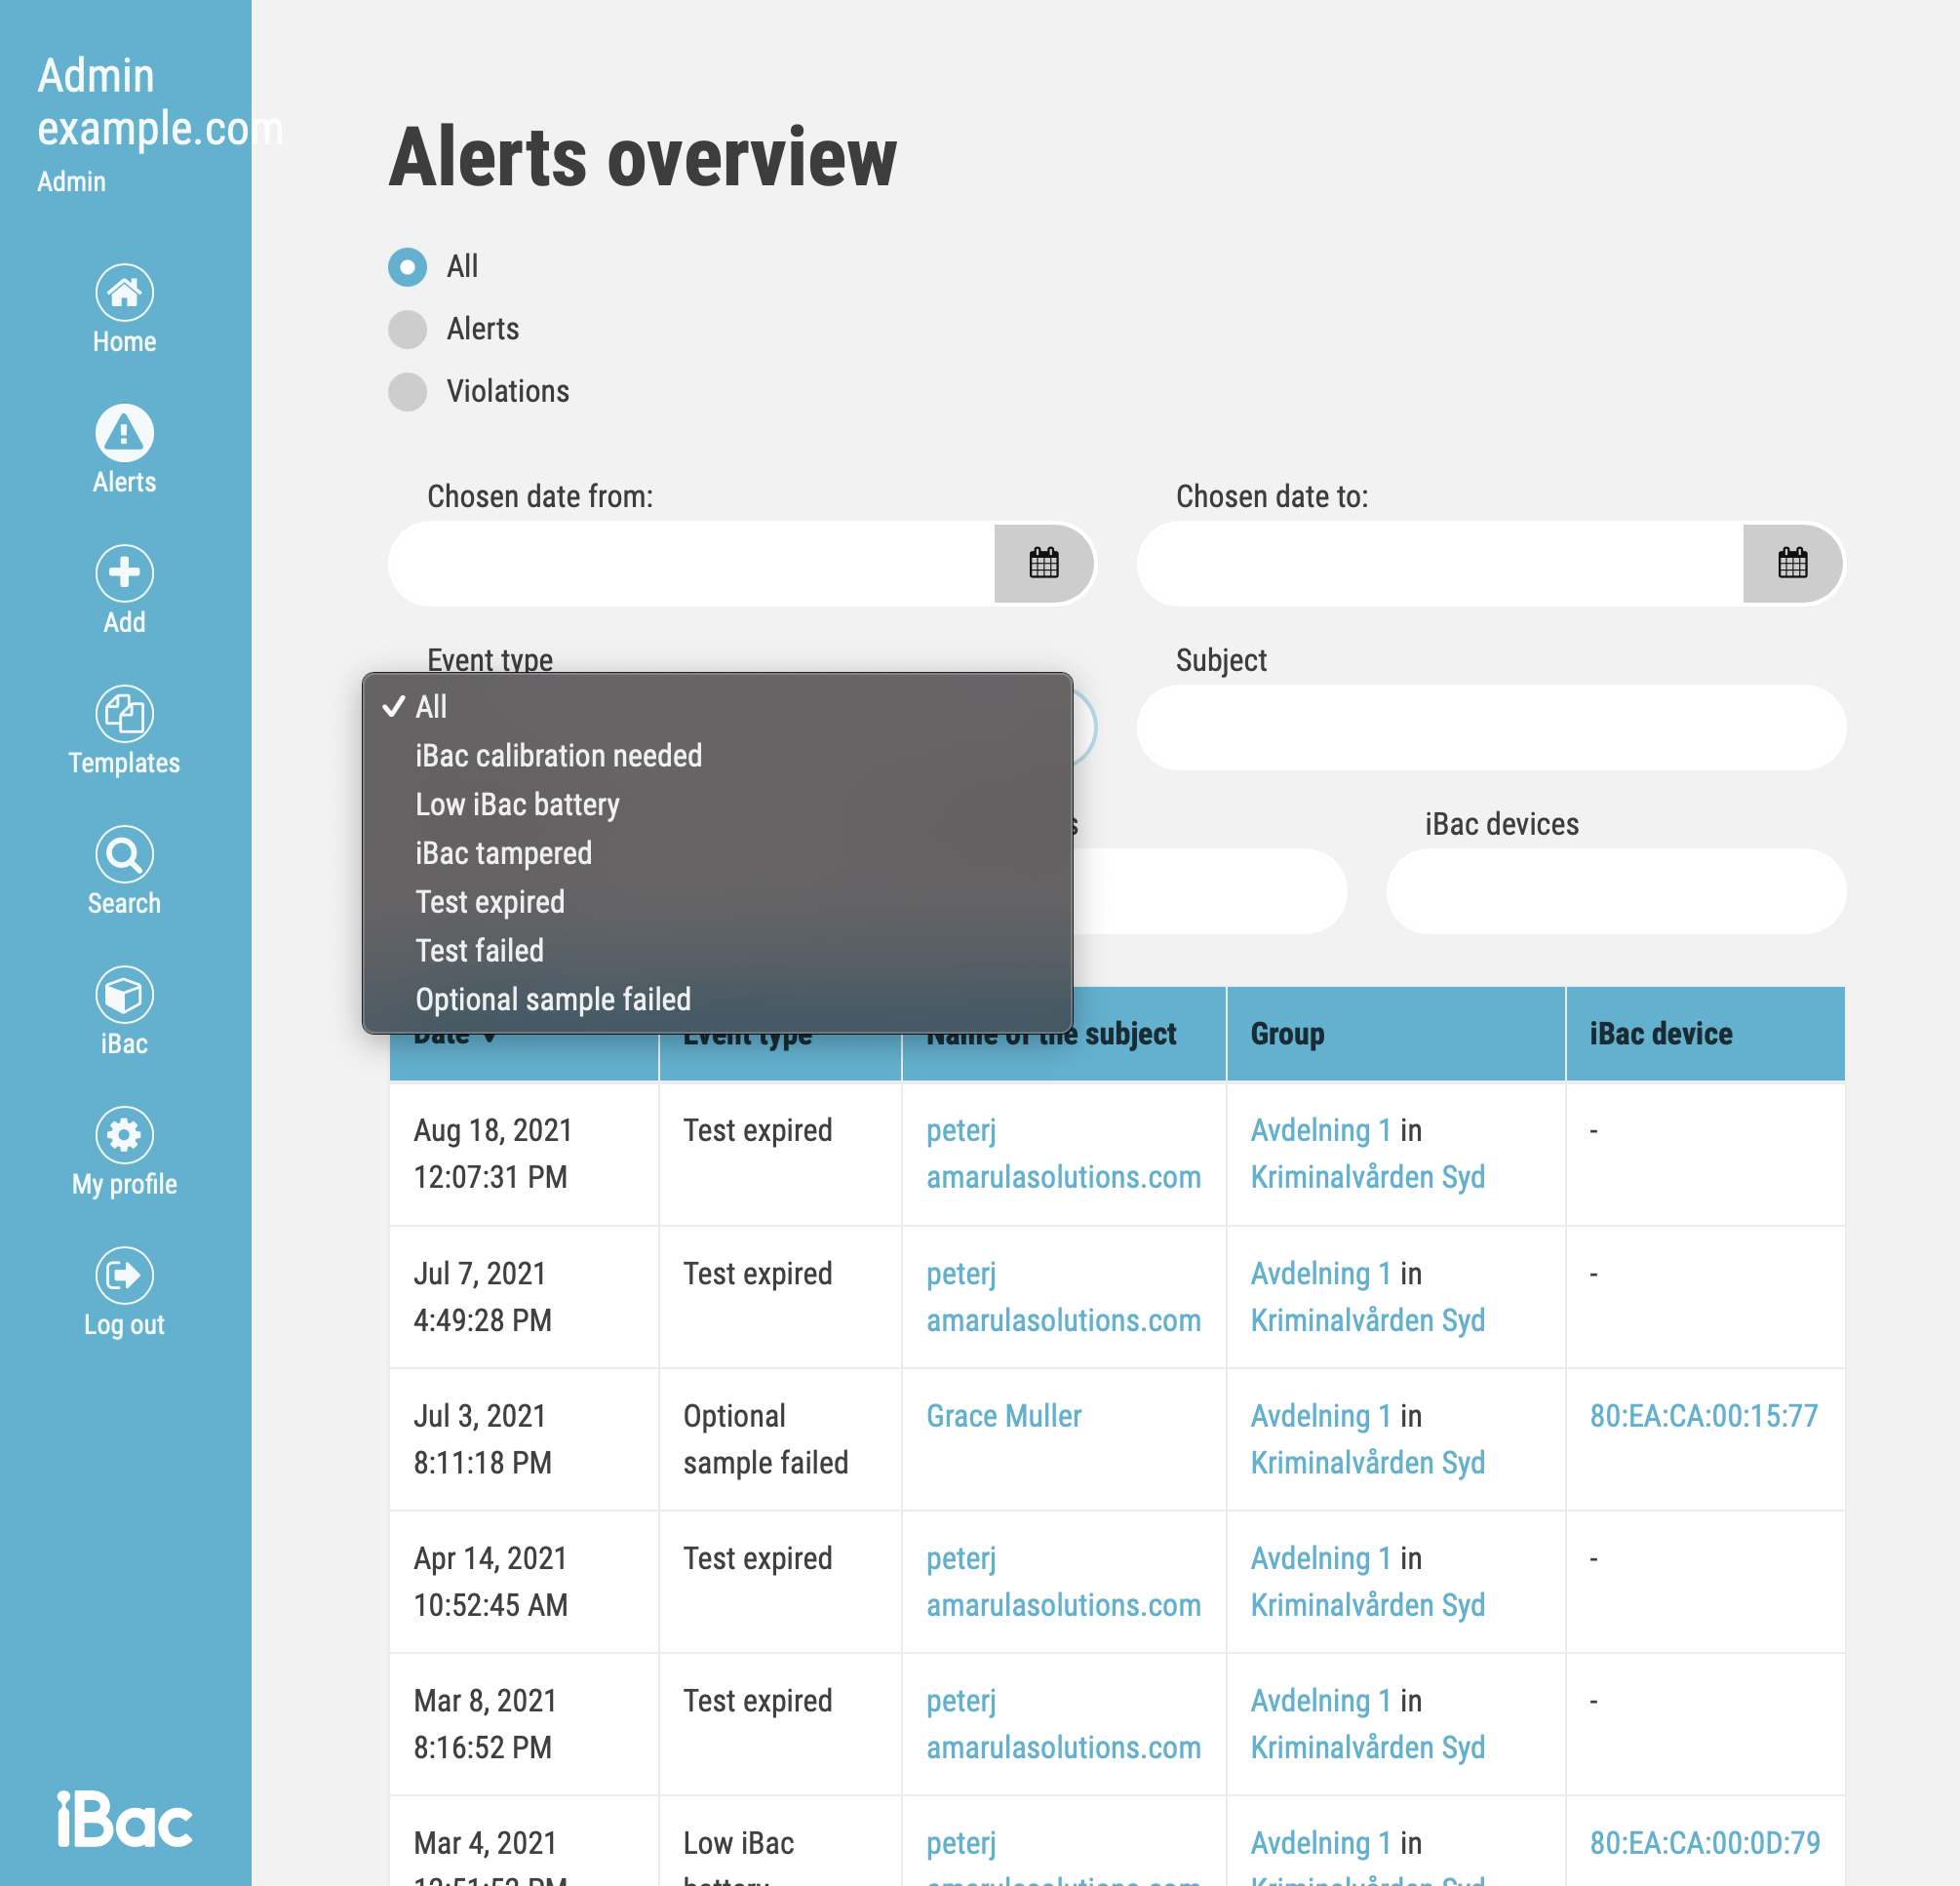
Filter by event type
-
Login as "Admin" to https://web.ibacpro.com
-
Click on "Alerts" on the left menu.
-
Select event type from the list
-
Results are filtered to contain only records of a specified event type.
Filter by subject/sub group/main group/iBac MAC address
-
Login as "Admin" to https://web.ibacpro.com
-
Click on "Alerts" on the left menu.
-
Insert the name of the subject/sub group/main group/iBac MAC address
-
Results are filtered to contain only records that conform to the inserted values.
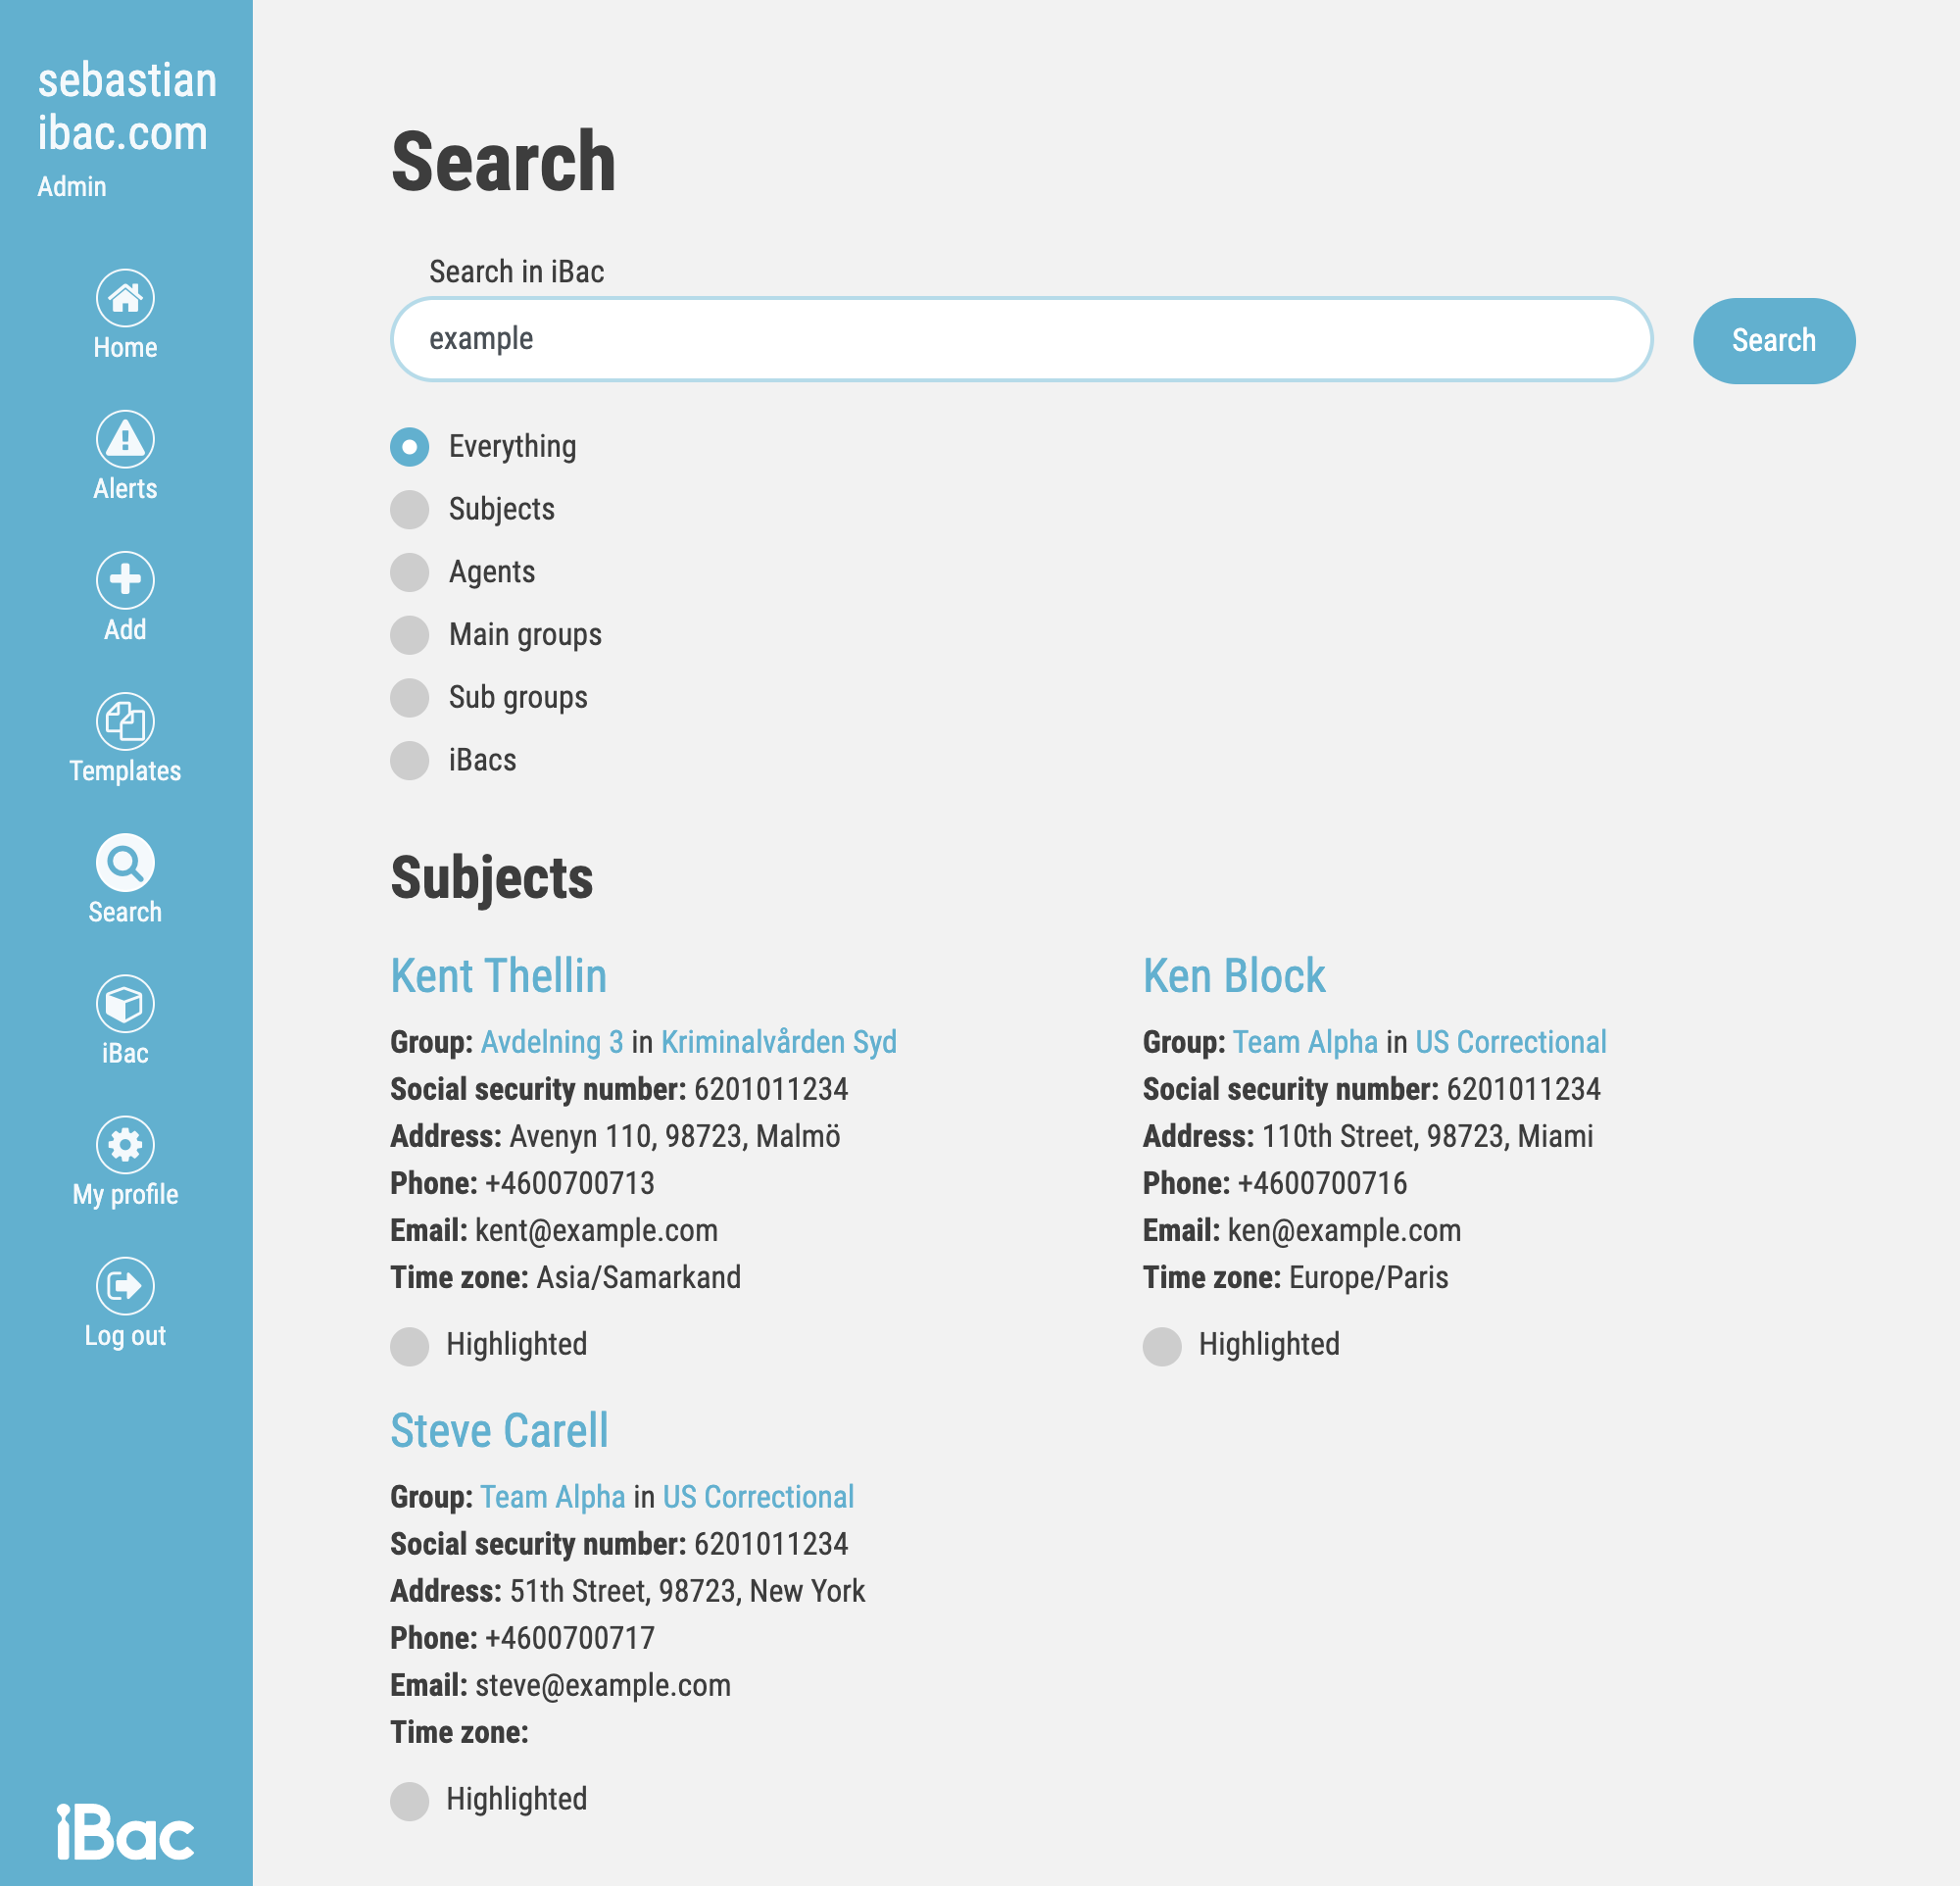
Searching
The system provides fulltext search engine to quickly find and navigate to the desired information. The searching possibilities are following:
-
Subjects
-
Agents
-
Main Groups
-
Sub Groups
-
iBacs (not available for Group Admins)
-
Everything (all above)
How to search:
-
Login as "Admin" to https://web.ibacpro.com
-
Click on "Search" on the left menu.
-
Choose the filter option e.g. Subjects if you look for specific subject. Or choose "Everything" if you want to search through all categories.
-
Insert the searched phrase e.g. name of the subject (IMPORTANT: minimum length of name is 3 characters).
-
Confirm by "Search" button and check the results which are containing the hypertext links so you can navigate to the given entity details page.

